Requirements
The easiest way to convert your existing roller shutters in remote-controlled “smart” roller shutters involves adding a single device behind your existing wall switch.
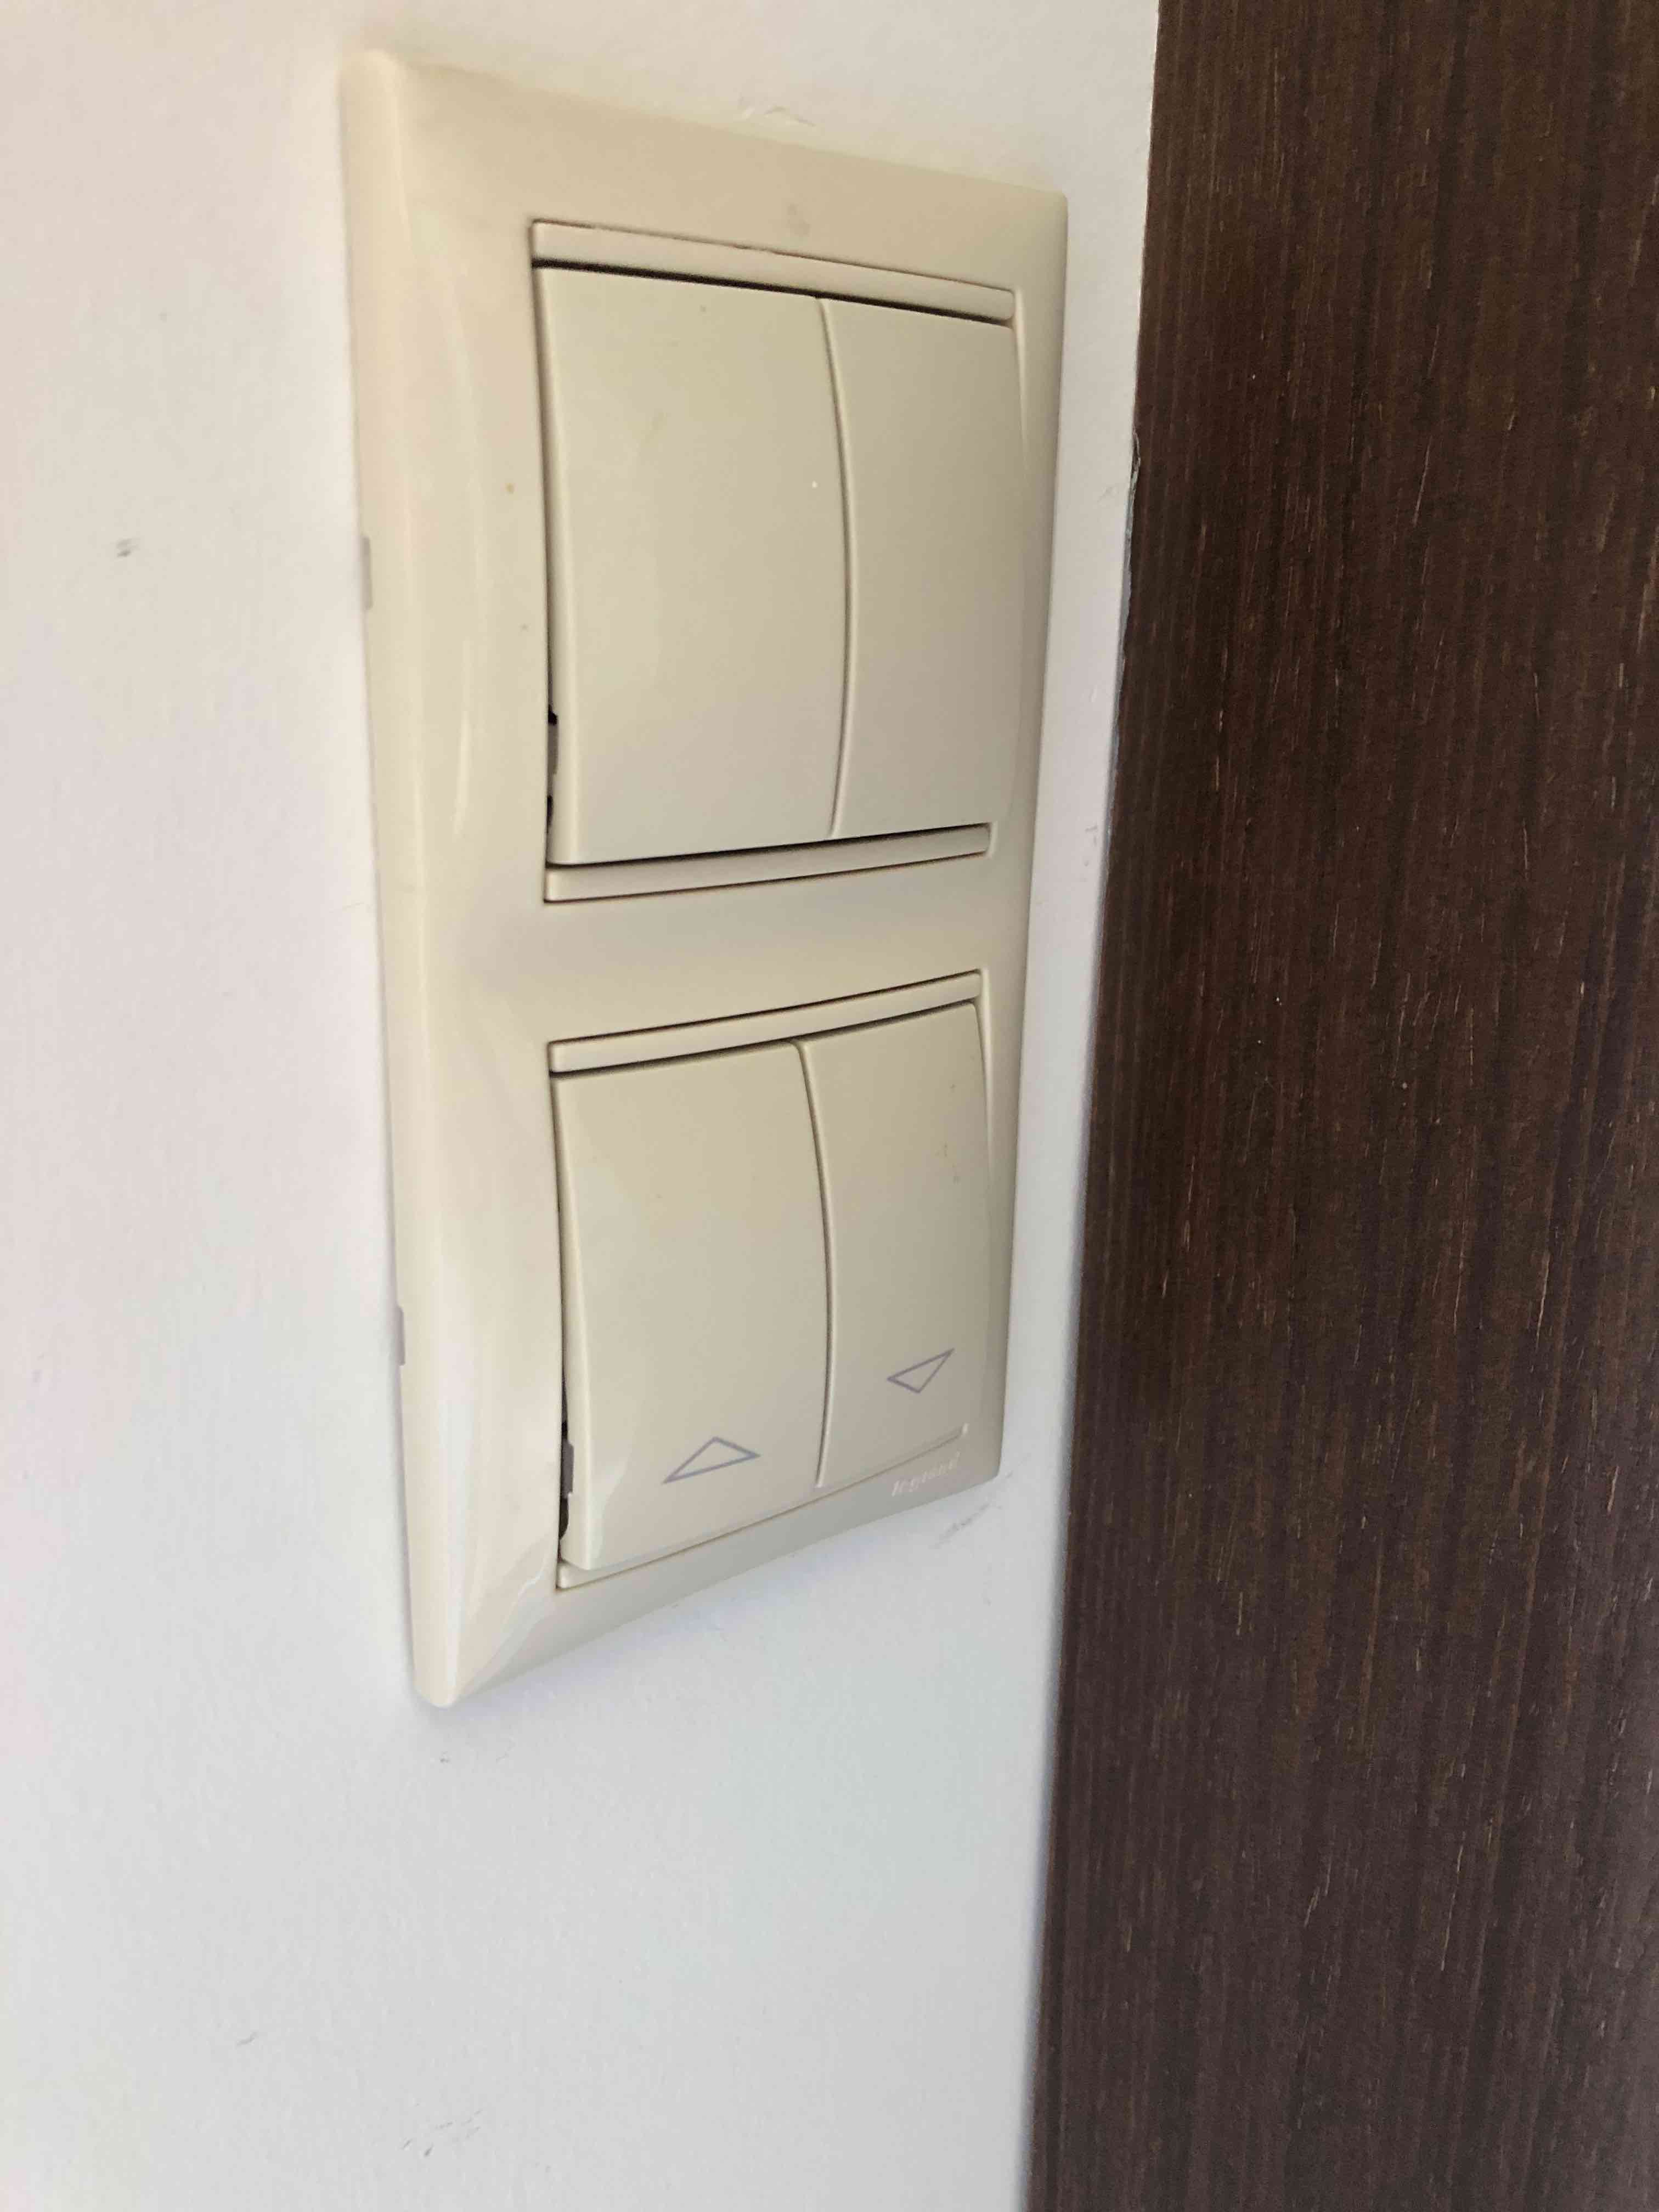
Let’s say you have a wall switch like this:
Here’s what else you’ll need:
- A wall switch to operate your roller shutters
- A neutral wire available behind your wall switch
- A Shelly 2.5
- Enough depth behind your wall switch for the Shelly 2.5 to fit
Total Cost: ~ 30 EUR per switch
Expected time: if you already have a Neutral wire installed - a couple of hours.
Installation
With a Neutral wire in place, the installation is pretty straightforward (even if it does feel intimidating if this is your first time - it was the same for me!).
Here’s how it goes:
The wall switch will probably have 3 wires going into it:
- Line
- One return to the UP direction
- One return to the DOWN direction
Here’s how Shelly recommend that you connect:
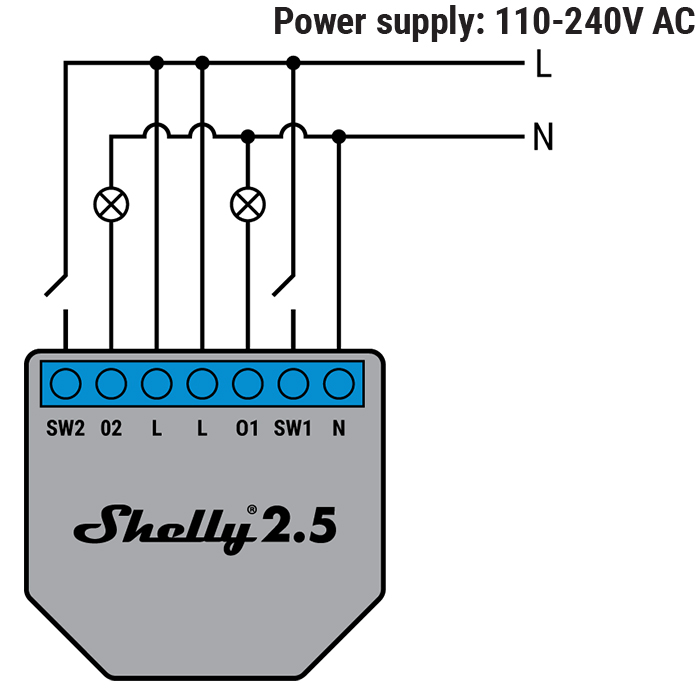
So, with that in mind, here is what you have to do:
- O1 (Output 1): connect here the cable that was connected to your UP switch (and make a note of where on your switch this cable was connected, you’ll need it below)
- O2 (Output 2): connect here the cable that was connected to your DOWN switch (and make a note of where on your switch this cable was connected, you’ll need it below)
- SW1 (Switch 1): connect to your wall switch, at the same connection point where your UP was
- SW2 (Switch 2): connect to your wall switch, at the same connection point where your DOWN was
- L: You need two line cables going into the Shelly. These can be bridged with the existing Line cable that was going into your roller shutters wall switch.
- N: The Neutral wire that should exist behind your wall switch.
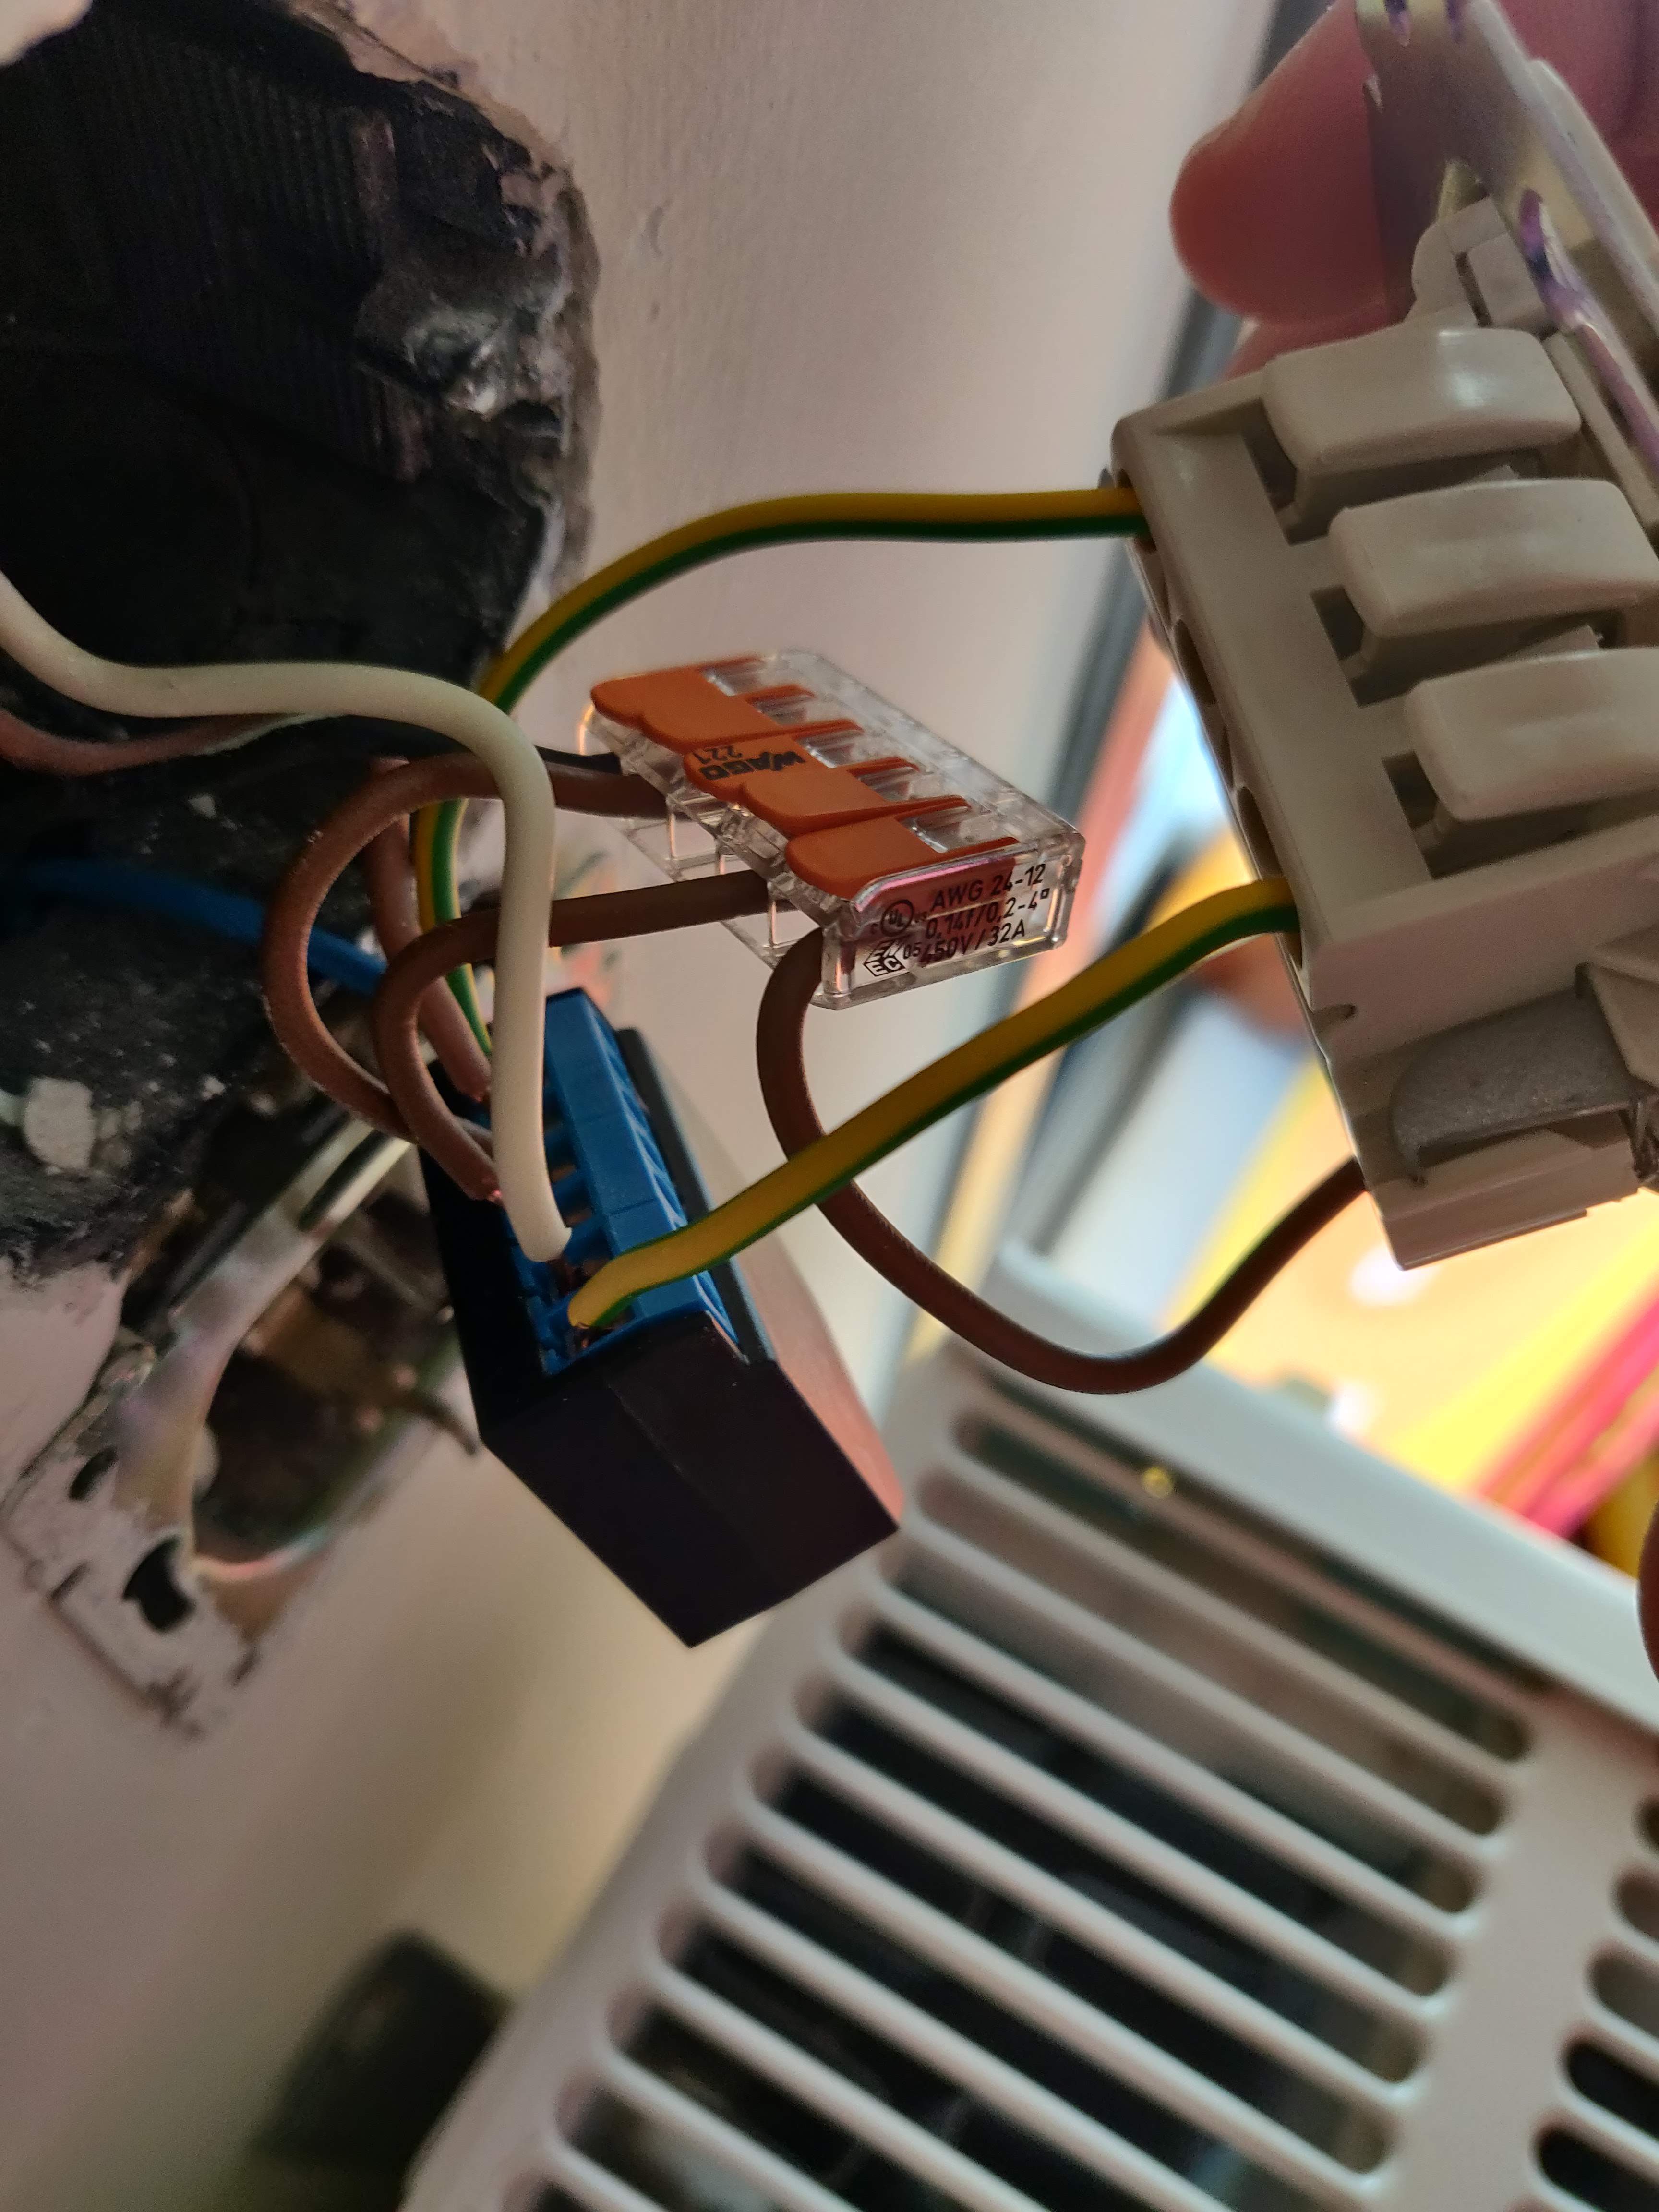
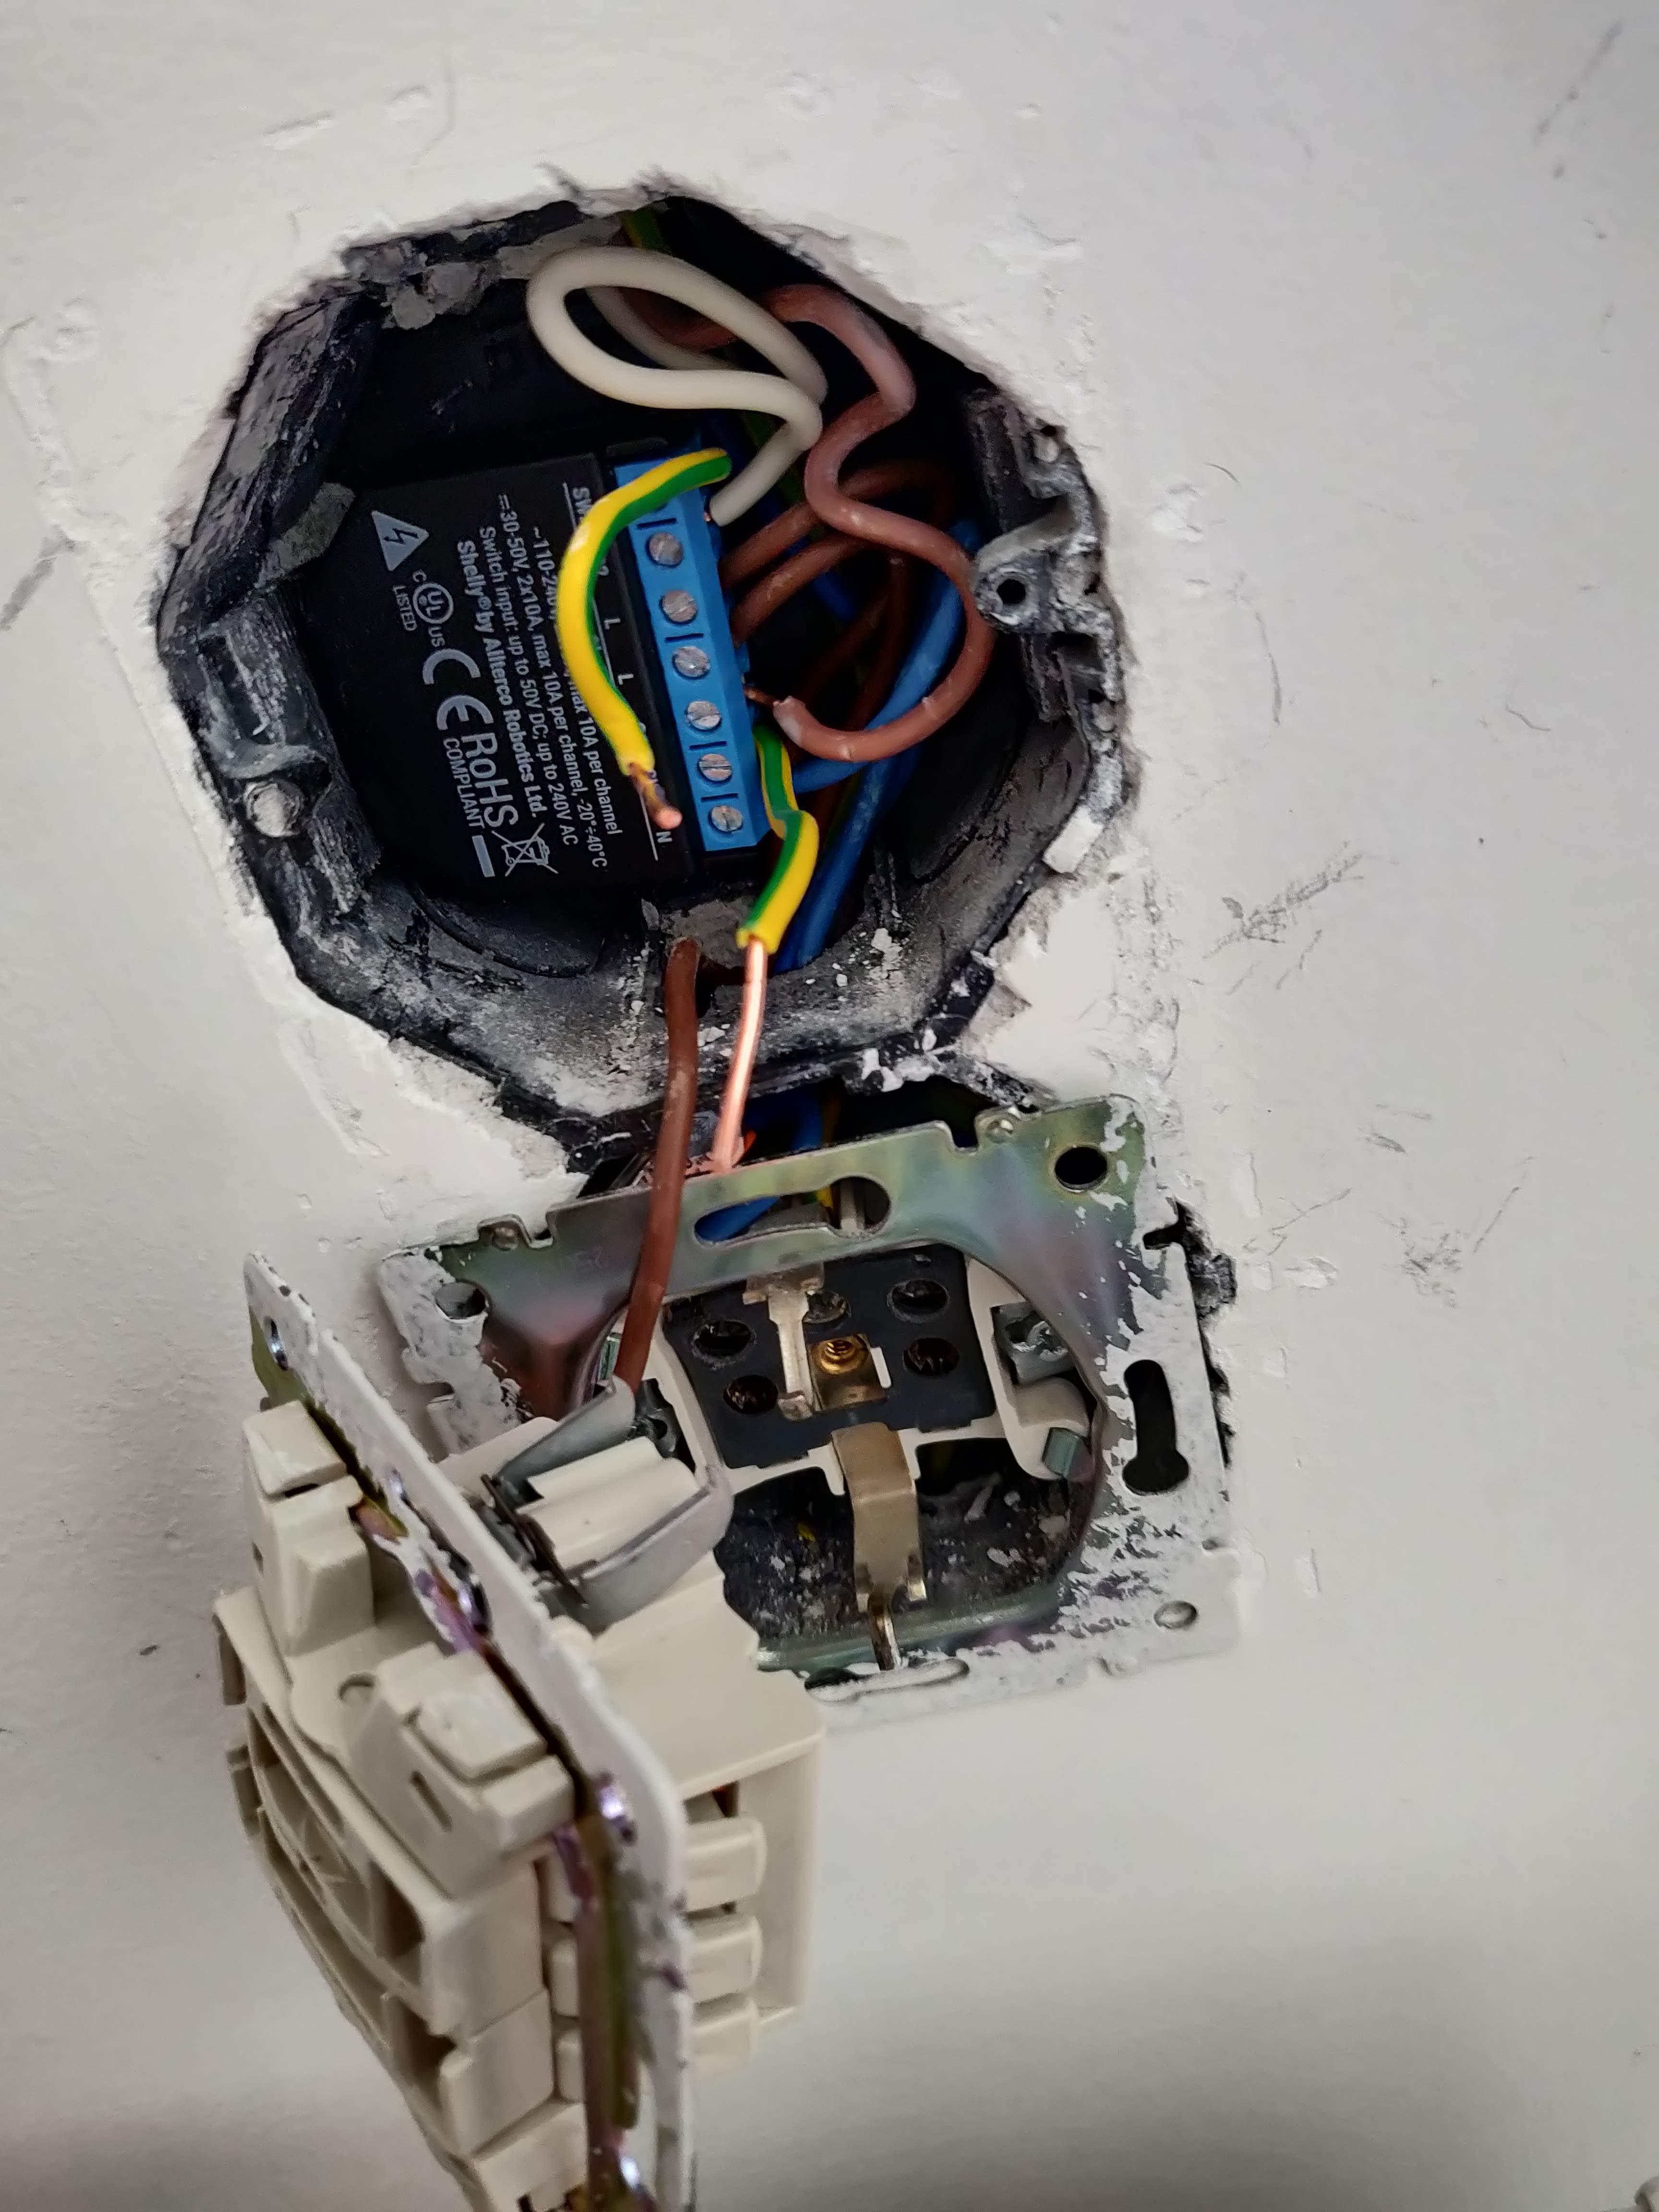
Here are a few photos from a real world installation:
Shelly setup
Ensure CoIoT is enabled
Internet & Security => Advanced - Developer Settings- Ensure there is an “Enable CoIoT” option there. If not, you will need to update to the latest firmware - see below.
Connect to WiFi and Update Firmware (optional steps)
Just documenting here my own steps - this will probably be different for everyone:
- Connect Shelly to Guest WiFi (with internet access, but no connection to other home networks).
- Update the firmware to the latest.
- Connect Shelly to the IoT WiFi (no internet access)
- Assign a static IP
Roller Shutter setting
- Connect to the Shelly web interface through the static IP.
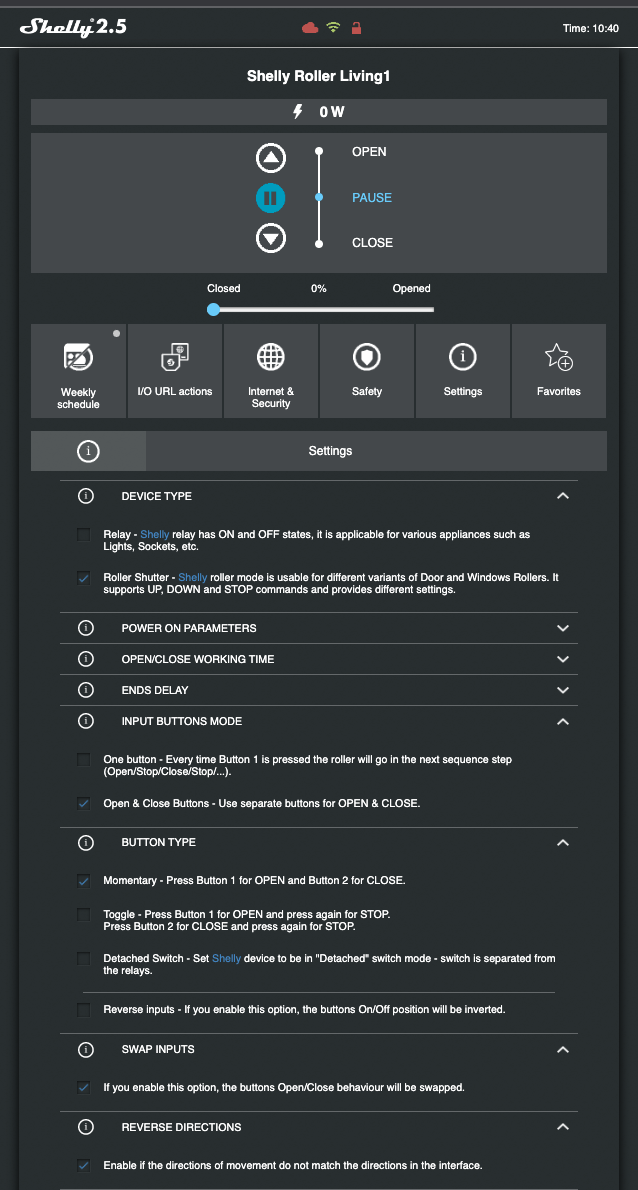
- Change the Shelly to operate as a roller shutter:
Settings => Device Type => Roller Shutter - Check that when pressing UP and DOWN your roller shutter moves UP and DOWN accordingly. If not - no need to change the cables around! Play around with the below 2 settings:
Settings => Reverse Directions => Enable the CheckboxandSettings => Swap Inputs. - Ensure the Button type is also correctly set. If you try to stop the roller shutter from the wall switch but it doesn’t stop, you might need to change the Shelly Button type to Momentary switch.
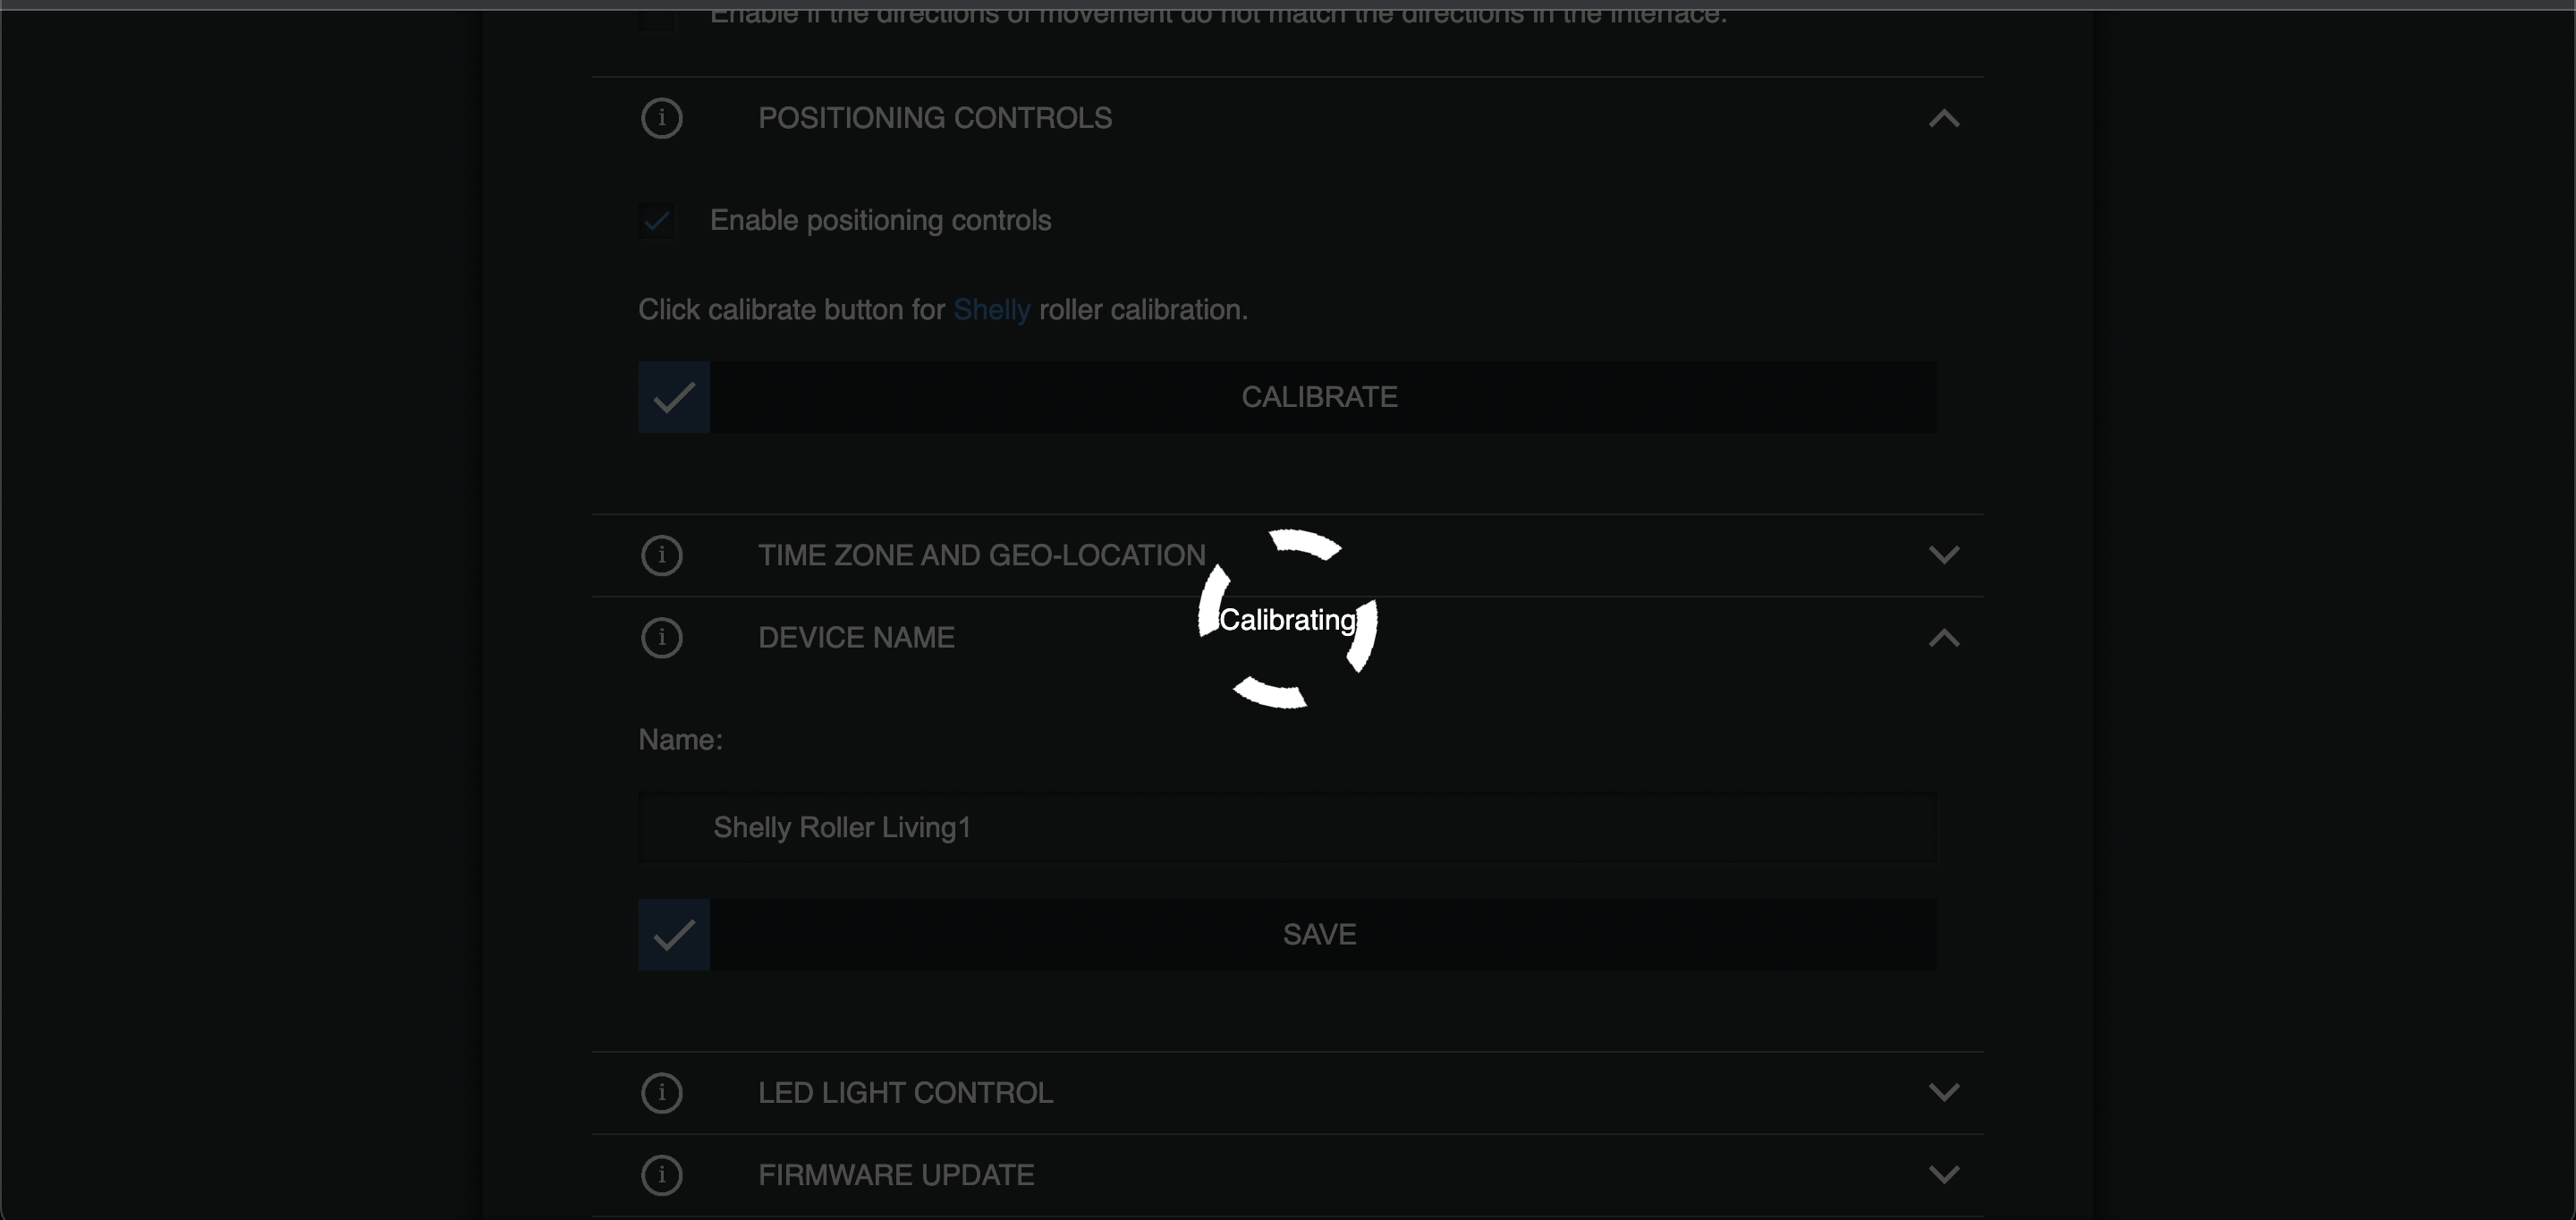
Calibration
Once the buttons are correctly configured, it’s now time to let Shelly calibrate itself for your roller shutter positions. It will go up and down a few times (don’t worry if it happens more than once)
- The calibrate option is available under
Settings => Positioning Controls.
Add to Home Assistant
With that, it is now time to add the roller shutters to Home Assistant!
- With CoIoT enabled, there is 1 more step recommended - switching from multicast to unicast: Go to
Internet & Security => Advanced - Developer Settingsand change themcastvalue to your Home Assistant IP and CoIoT port. e.g.192.168.100.100:5683. With that, the Shelly 2.5 switch should appear in your Shelly integration (ensure you have that integration installed). - You should receive a notification about the new device. If not, a restart of Home Assistant might help.
-
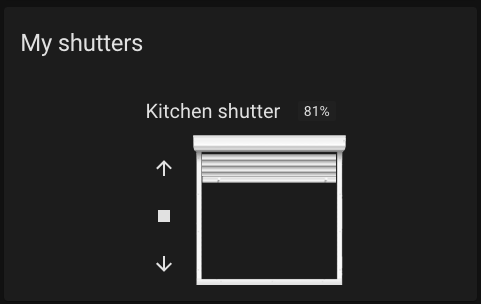
You should now have a new
coverentity available in your Home Assistant, which you can add to your Dashboards, Scenes and Automations!! 🎉🎉🎉 - Bonus: for extra fun 🥳 , try out the custom Roller Shutter card from HACS: https://github.com/Deejayfool/hass-shutter-card
Credits
Big shout out to Michalis for all his help putting this guide together !! 🙏 🍻
Home Assistant Configuration
You can find all my Home Assistant configuration here.