Most people I talk to are very sceptical about any kind of smart home automation around entry points to their home: if it’s hacked, their house is open to intruders! 😱
I have 2 very good reasons why this isn’t so much of a concern to me:
- my home automation setup isn’t accessible through the internet - only my local WiFi. (and, yes, that means that even I cannot access it when I am away from home!)
- the garage door isn’t an entry point in itself. There is another door that locks after it.
With that in mind, this was one of the very first home automations I wanted to set up. BUT I ran into a bit of a problem the first time I did… 😅
Read this so you don’t fry your existing door controller!
I wasn’t careful enough with the Shelly device I used. 😐 I read the instructions for the Shelly1 and I naively assumed that it would be pretty much the same for Shelly1 PM… This is the same kind of assumption a modern city person might make, when they find themselves in the wild, and mistake a wolf for a dog. Only they won’t survive to talk about it. I did. It is my garage door that didn’t survive. 🪦
The Shelly1 PM does not have “dry contacts”, meaning that the output is the same as the input (i.e. AC power, in my case) and 230V AC power was pretty deadly where my garage door innocently expected a simple 5v contact. 😭
⛔️⛔️ WARNING: MAINS VOLTAGE IS DANGEROUS!! PROCEED AT YOUR OWN RISK! ⛔️⛔️
Please consult with an electrician if at all unsure. Frying devices is nothing compared to toying with your own life, or the safety of your home!
Hardware Requirements
This is a pretty simple one. You just need:
- A switch/button that signals your Garage Door controller. If you only operate your garage door through a remote control, you will need some other bridge (that I haven’t found yet). But, do look into the possibility that your garage door controller supports a button - which simply hasn’t been installed. That would allow you to a setup similar to this.
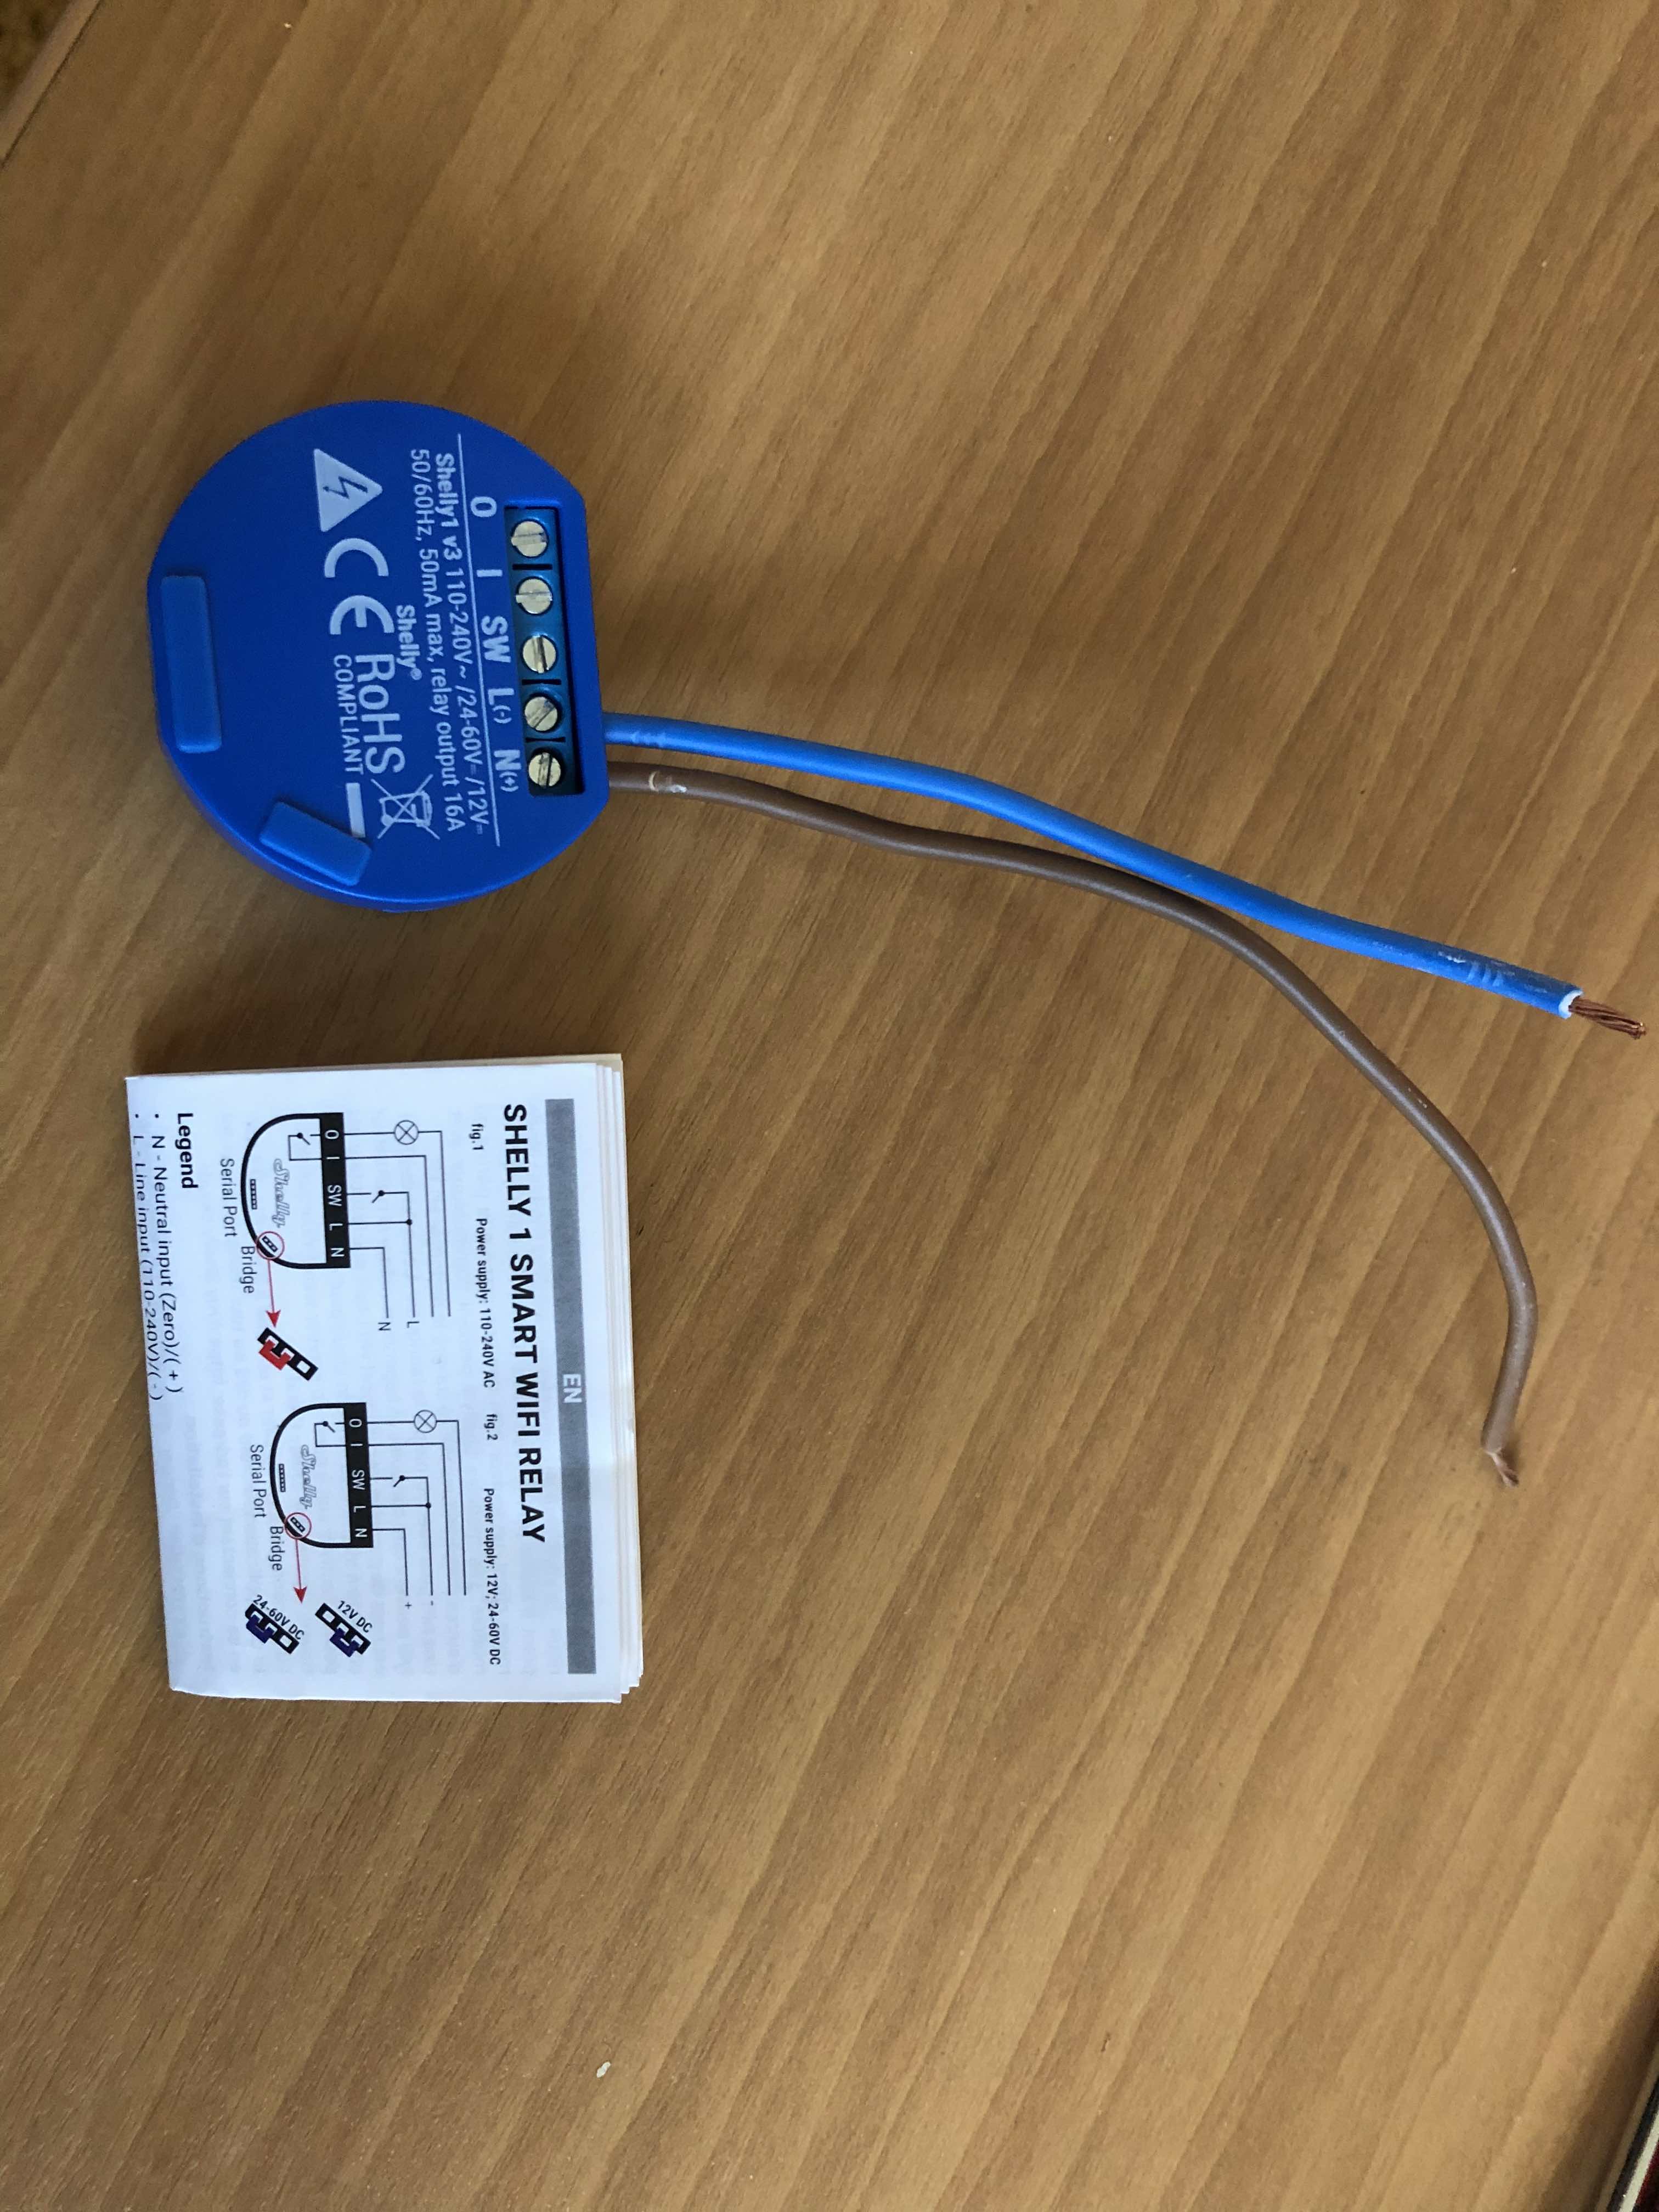
- 1 * Shelly 1 (NOT a Shelly 1 PM !!)
- Screwdriver
Installation
Step 1: Prepare your Shelly
It’s better to follow these steps in the comfort of your own desk, before moving to your garage to connect the Shelly.
- Connect it to the power
- Connect to its WiFi Access point
- Navigate to 192.168.33.1 from your browser
- Set Button type to “Edge Switch” (if you have a pushbutton for the garage door controller, like I do - see below.)
- Set MQTT server connection details (I prefer this over the Shelly Integration)
- Set WiFi client details, so that Shelly can connect to your local WiFi network.
Step 2: Prepare Garage Door Button
Next, find the button that controls your garage door:
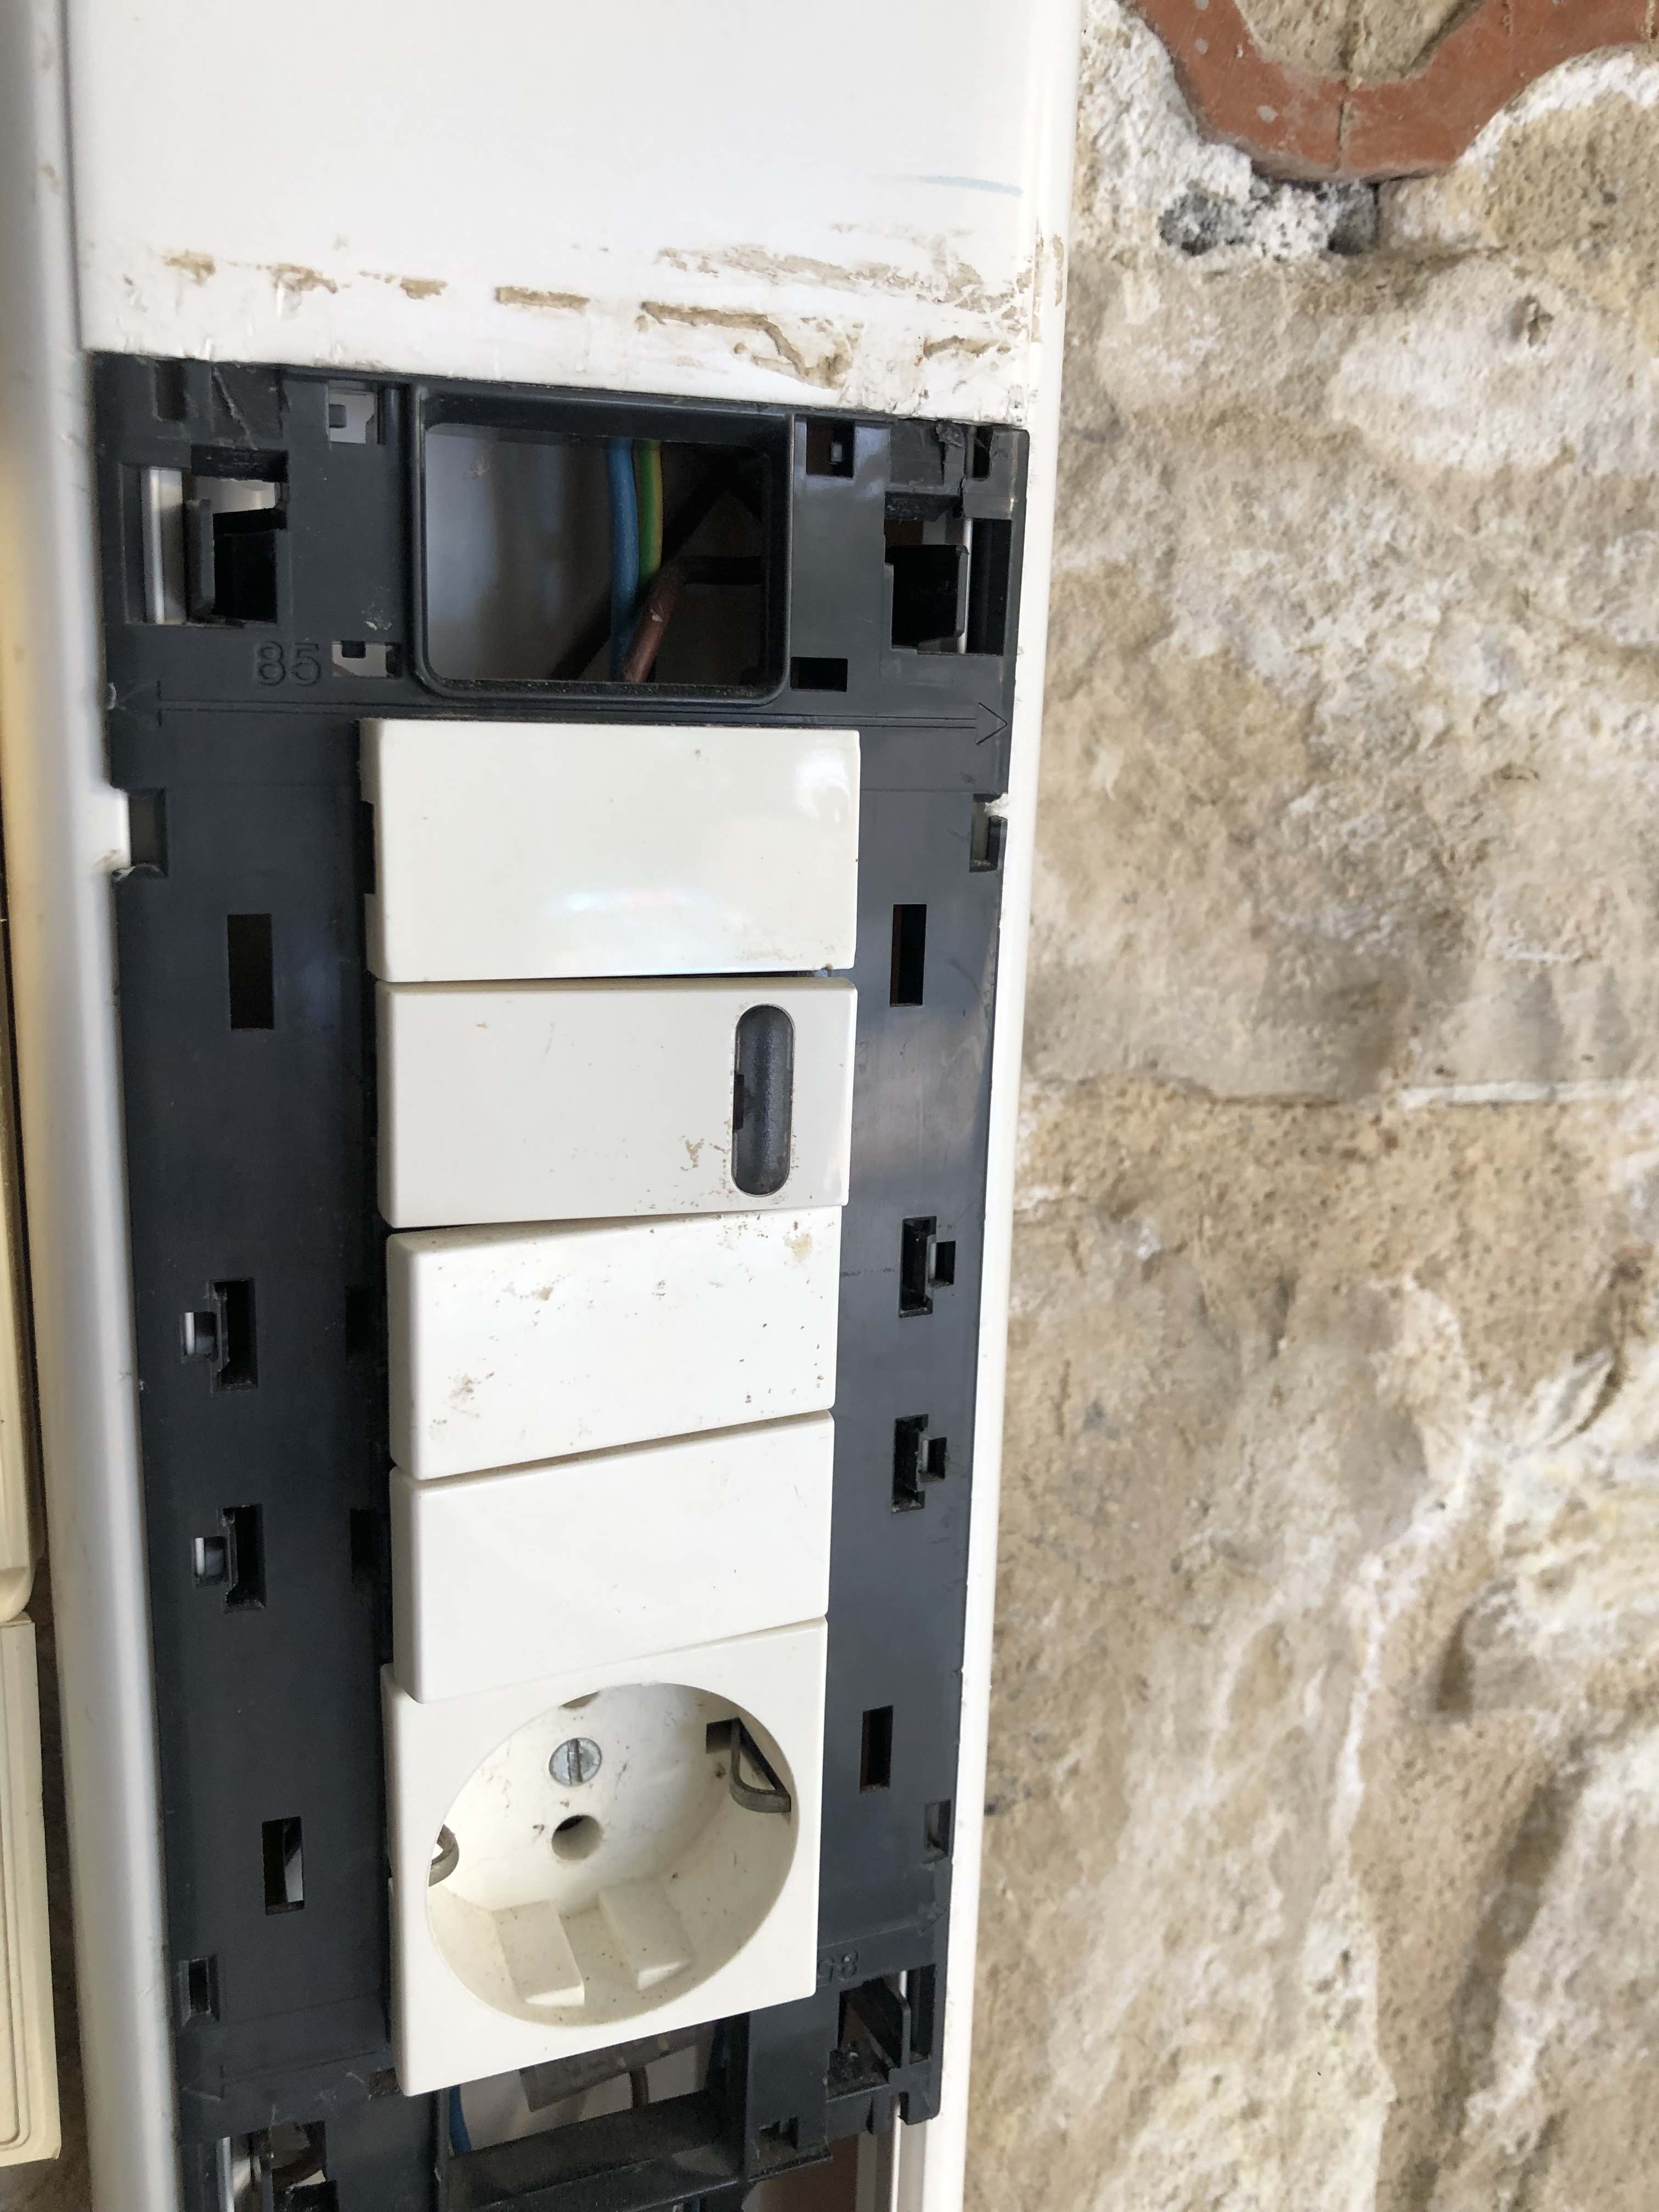
The operation is very simple: when the button is pushed, the circuit closes and the garage door receives the signal to open / close.
Step 3: Operate Garage Door with Just Shelly
Before trying to get everything working together, let’s verify that the Shelly1 can operate the garage door controller.
- Connect the Shelly1 to Line (L) and Neutral (N), so it can turn on.
- To be 100% sure that you won’t fry your garage door controller, turn on Shelly1 and turn on relay (through the web interface, etc.) and measure with your multimeter what the output is. If you see 230V AC, STOP!!! 😅
- Connect the 2 cables that were connected to your pushbutton (step 2) to the Shelly Input (I) and Output (O)
- With that, turn power back on and let the Shelly power on.
- Now try turning on the Shelly, and turn on the relay (from the web interface, etc. as before) That should open/close your garage door!!
- If it didn’t, try changing the cable you’ve connected to Input to Output and vice-versa.
- If that works, you’re almost there!!
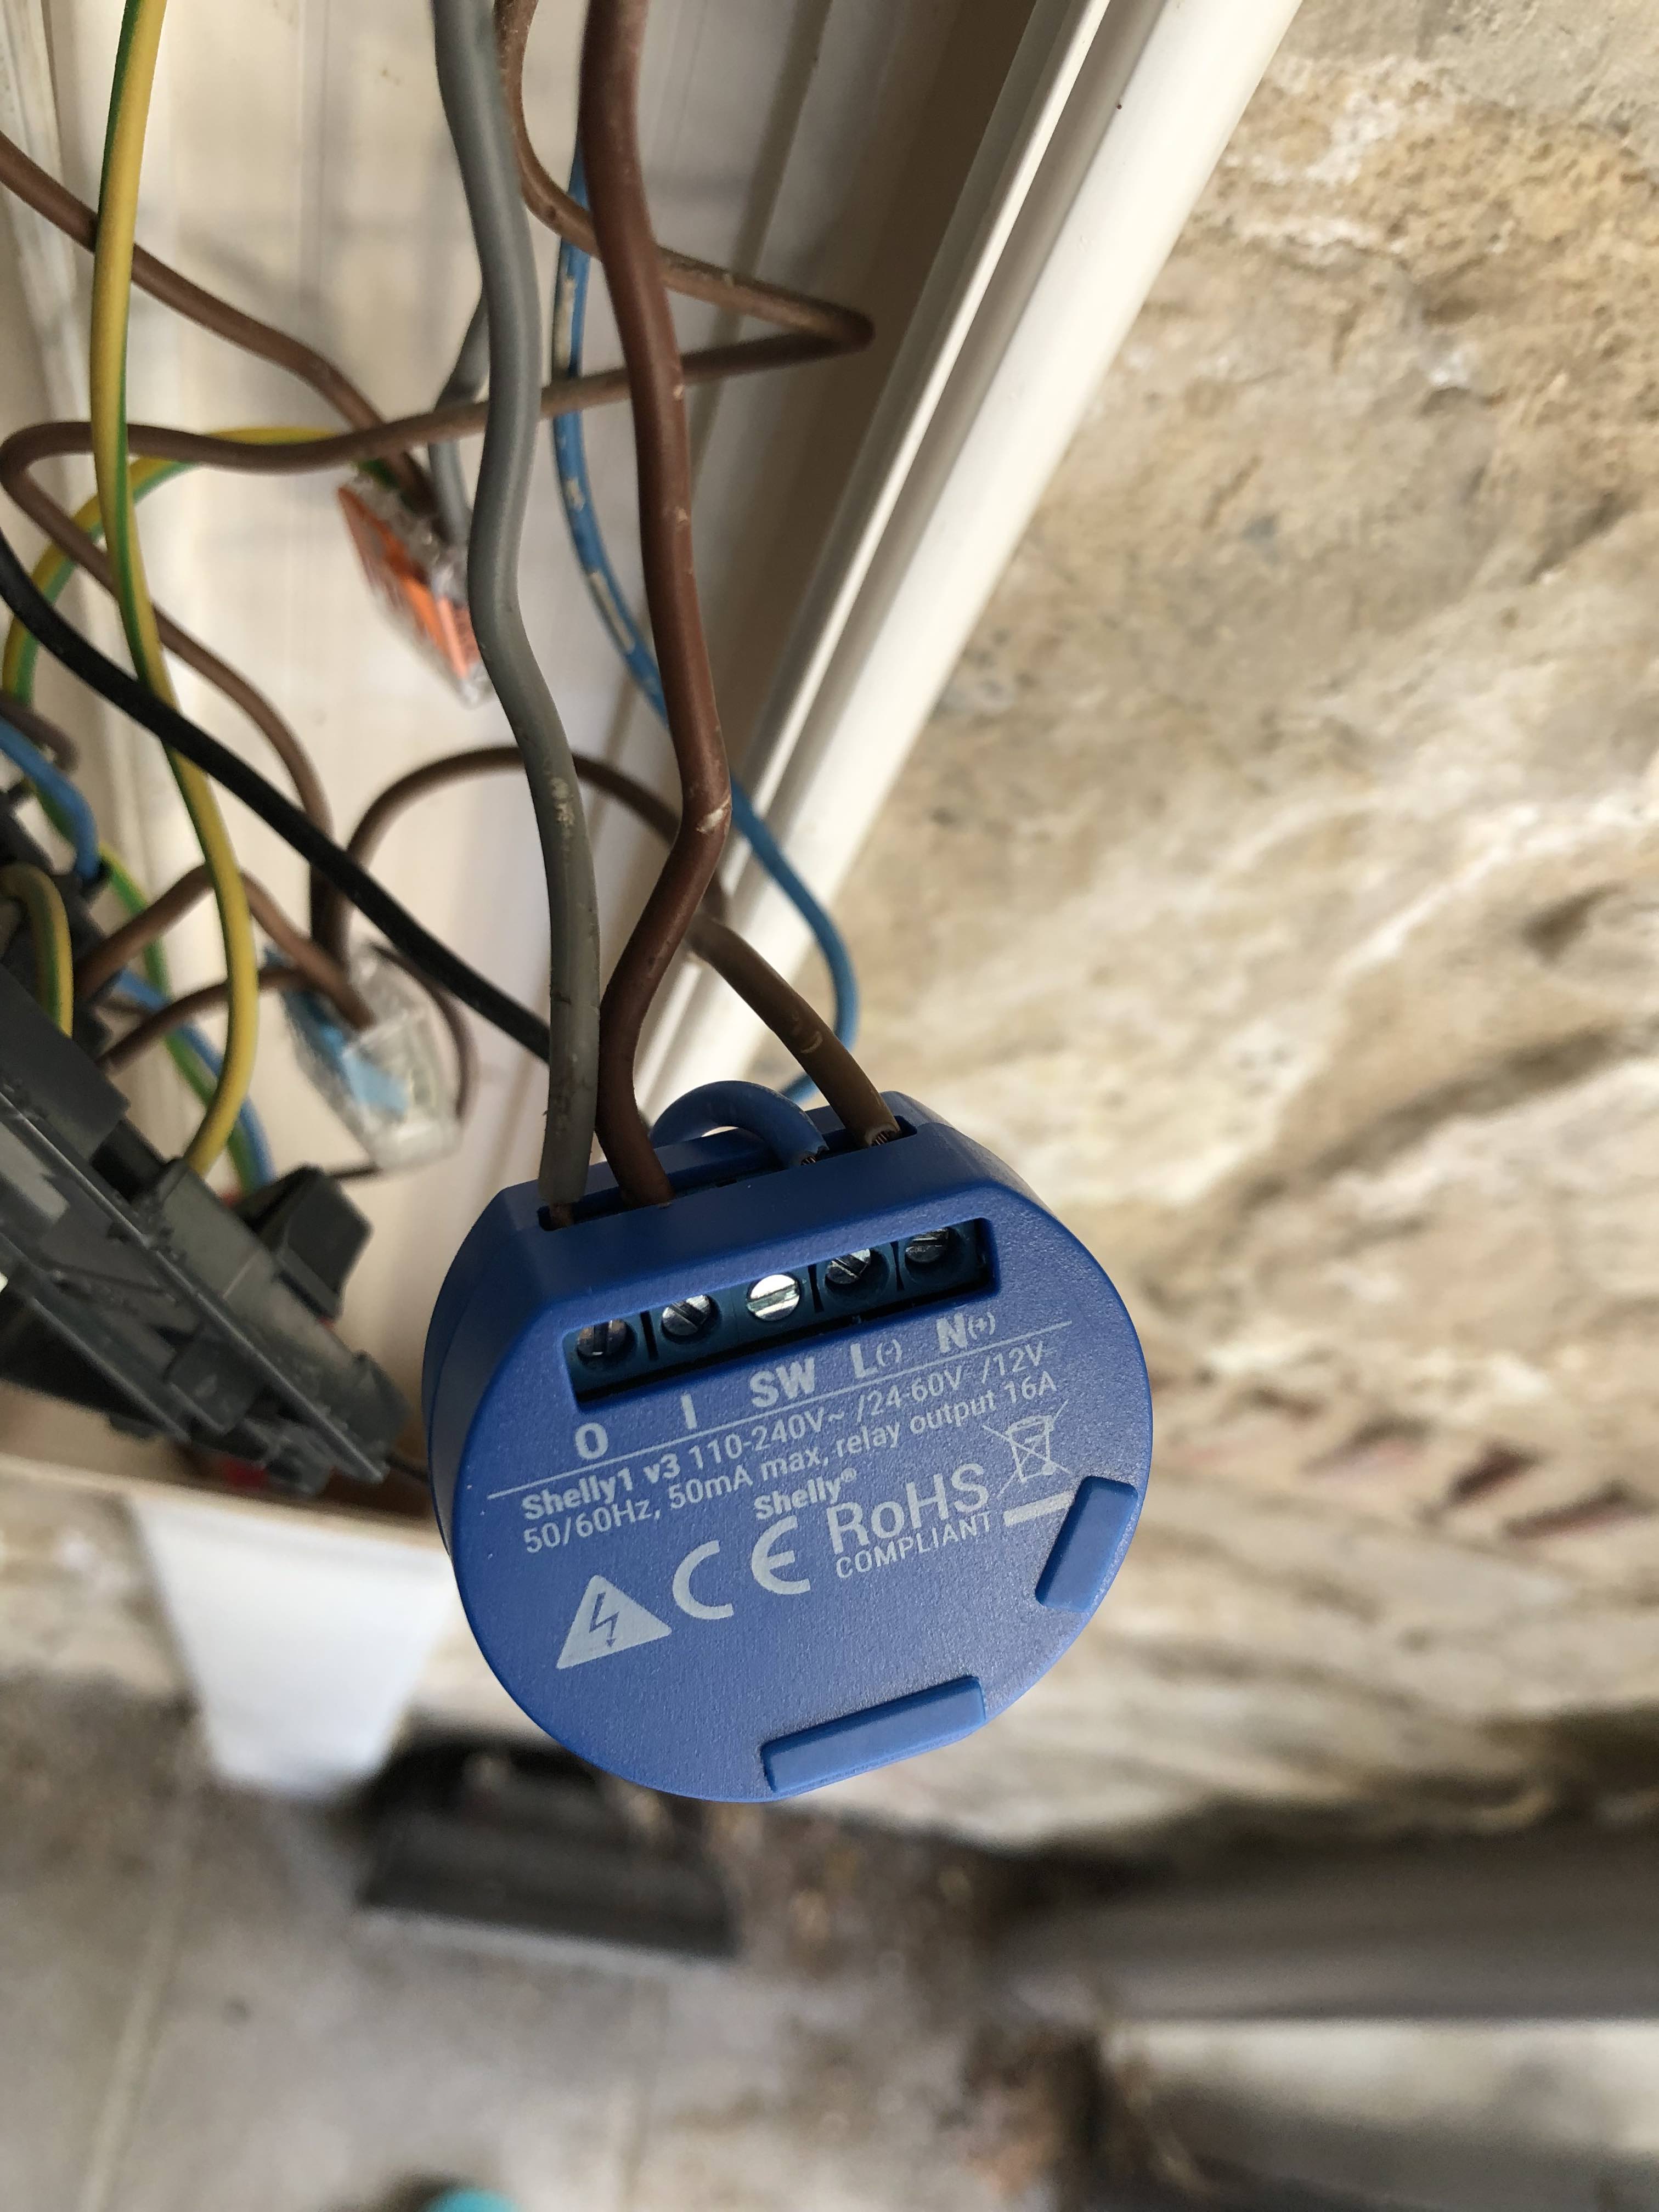
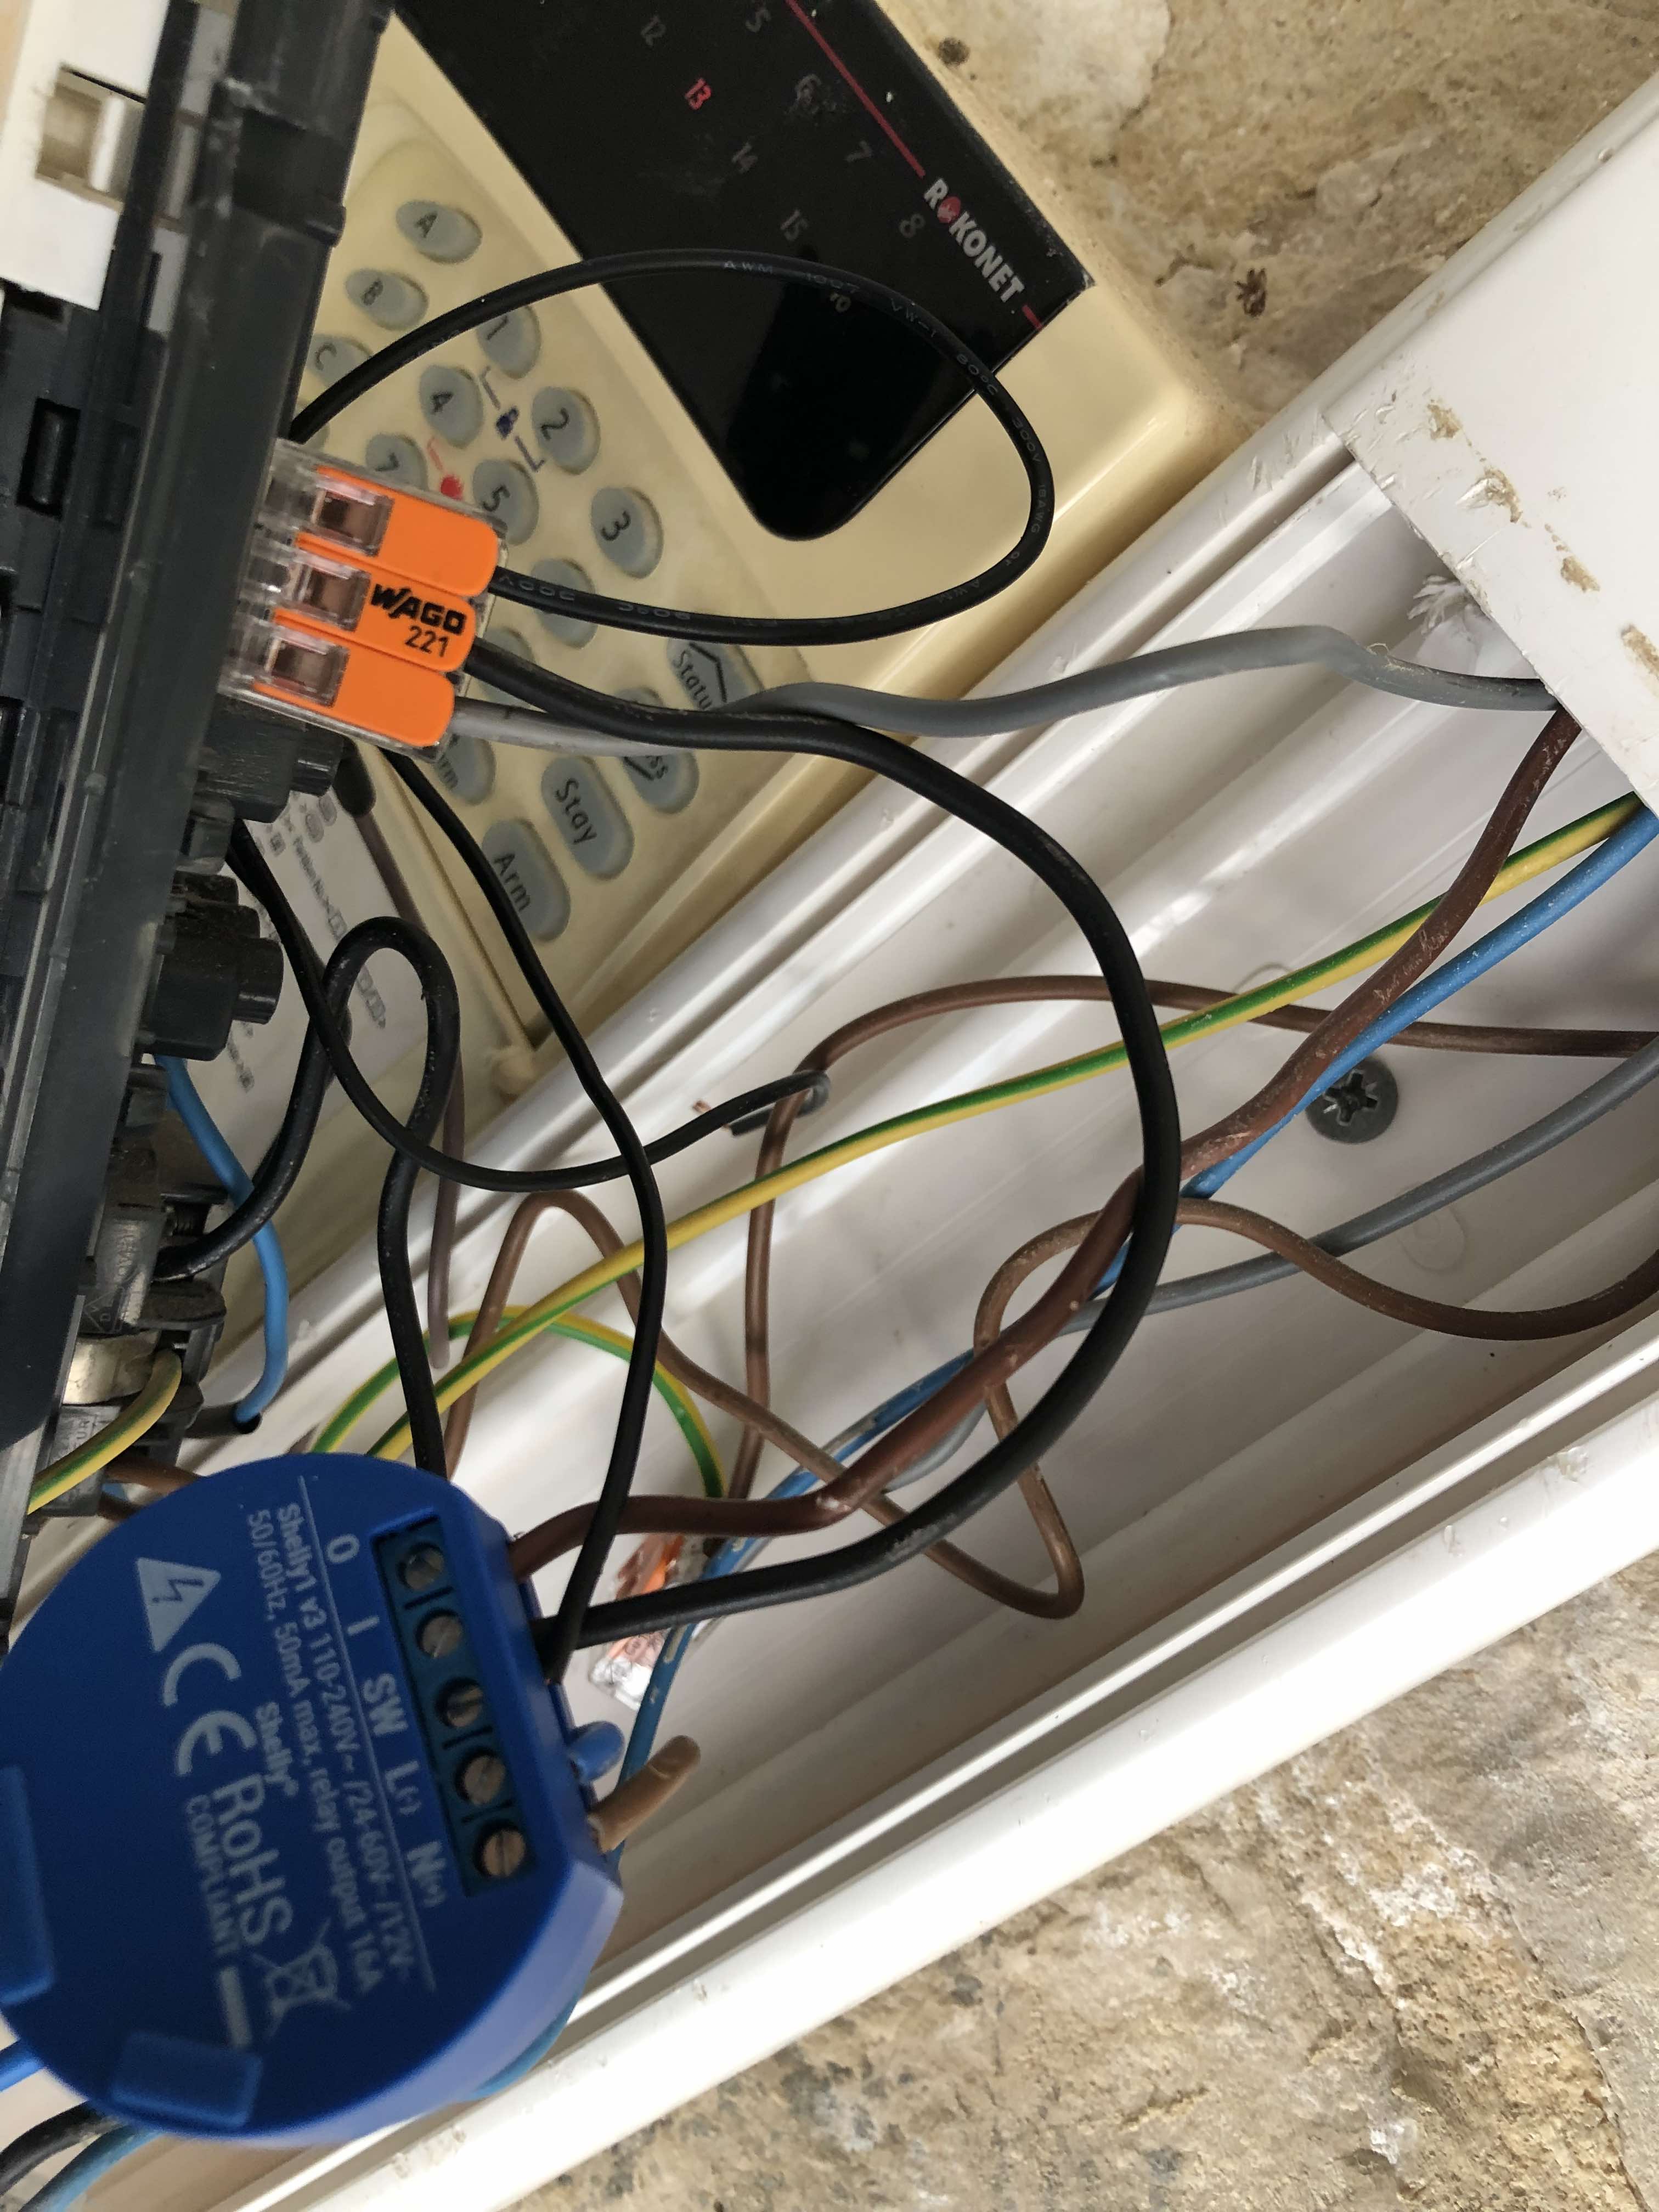
See also the picture below:
Step 4: Connect the Pushbutton
Now it’s time to connect the push button, so we can control the garage door from both the Shelly, and the button on the wall.
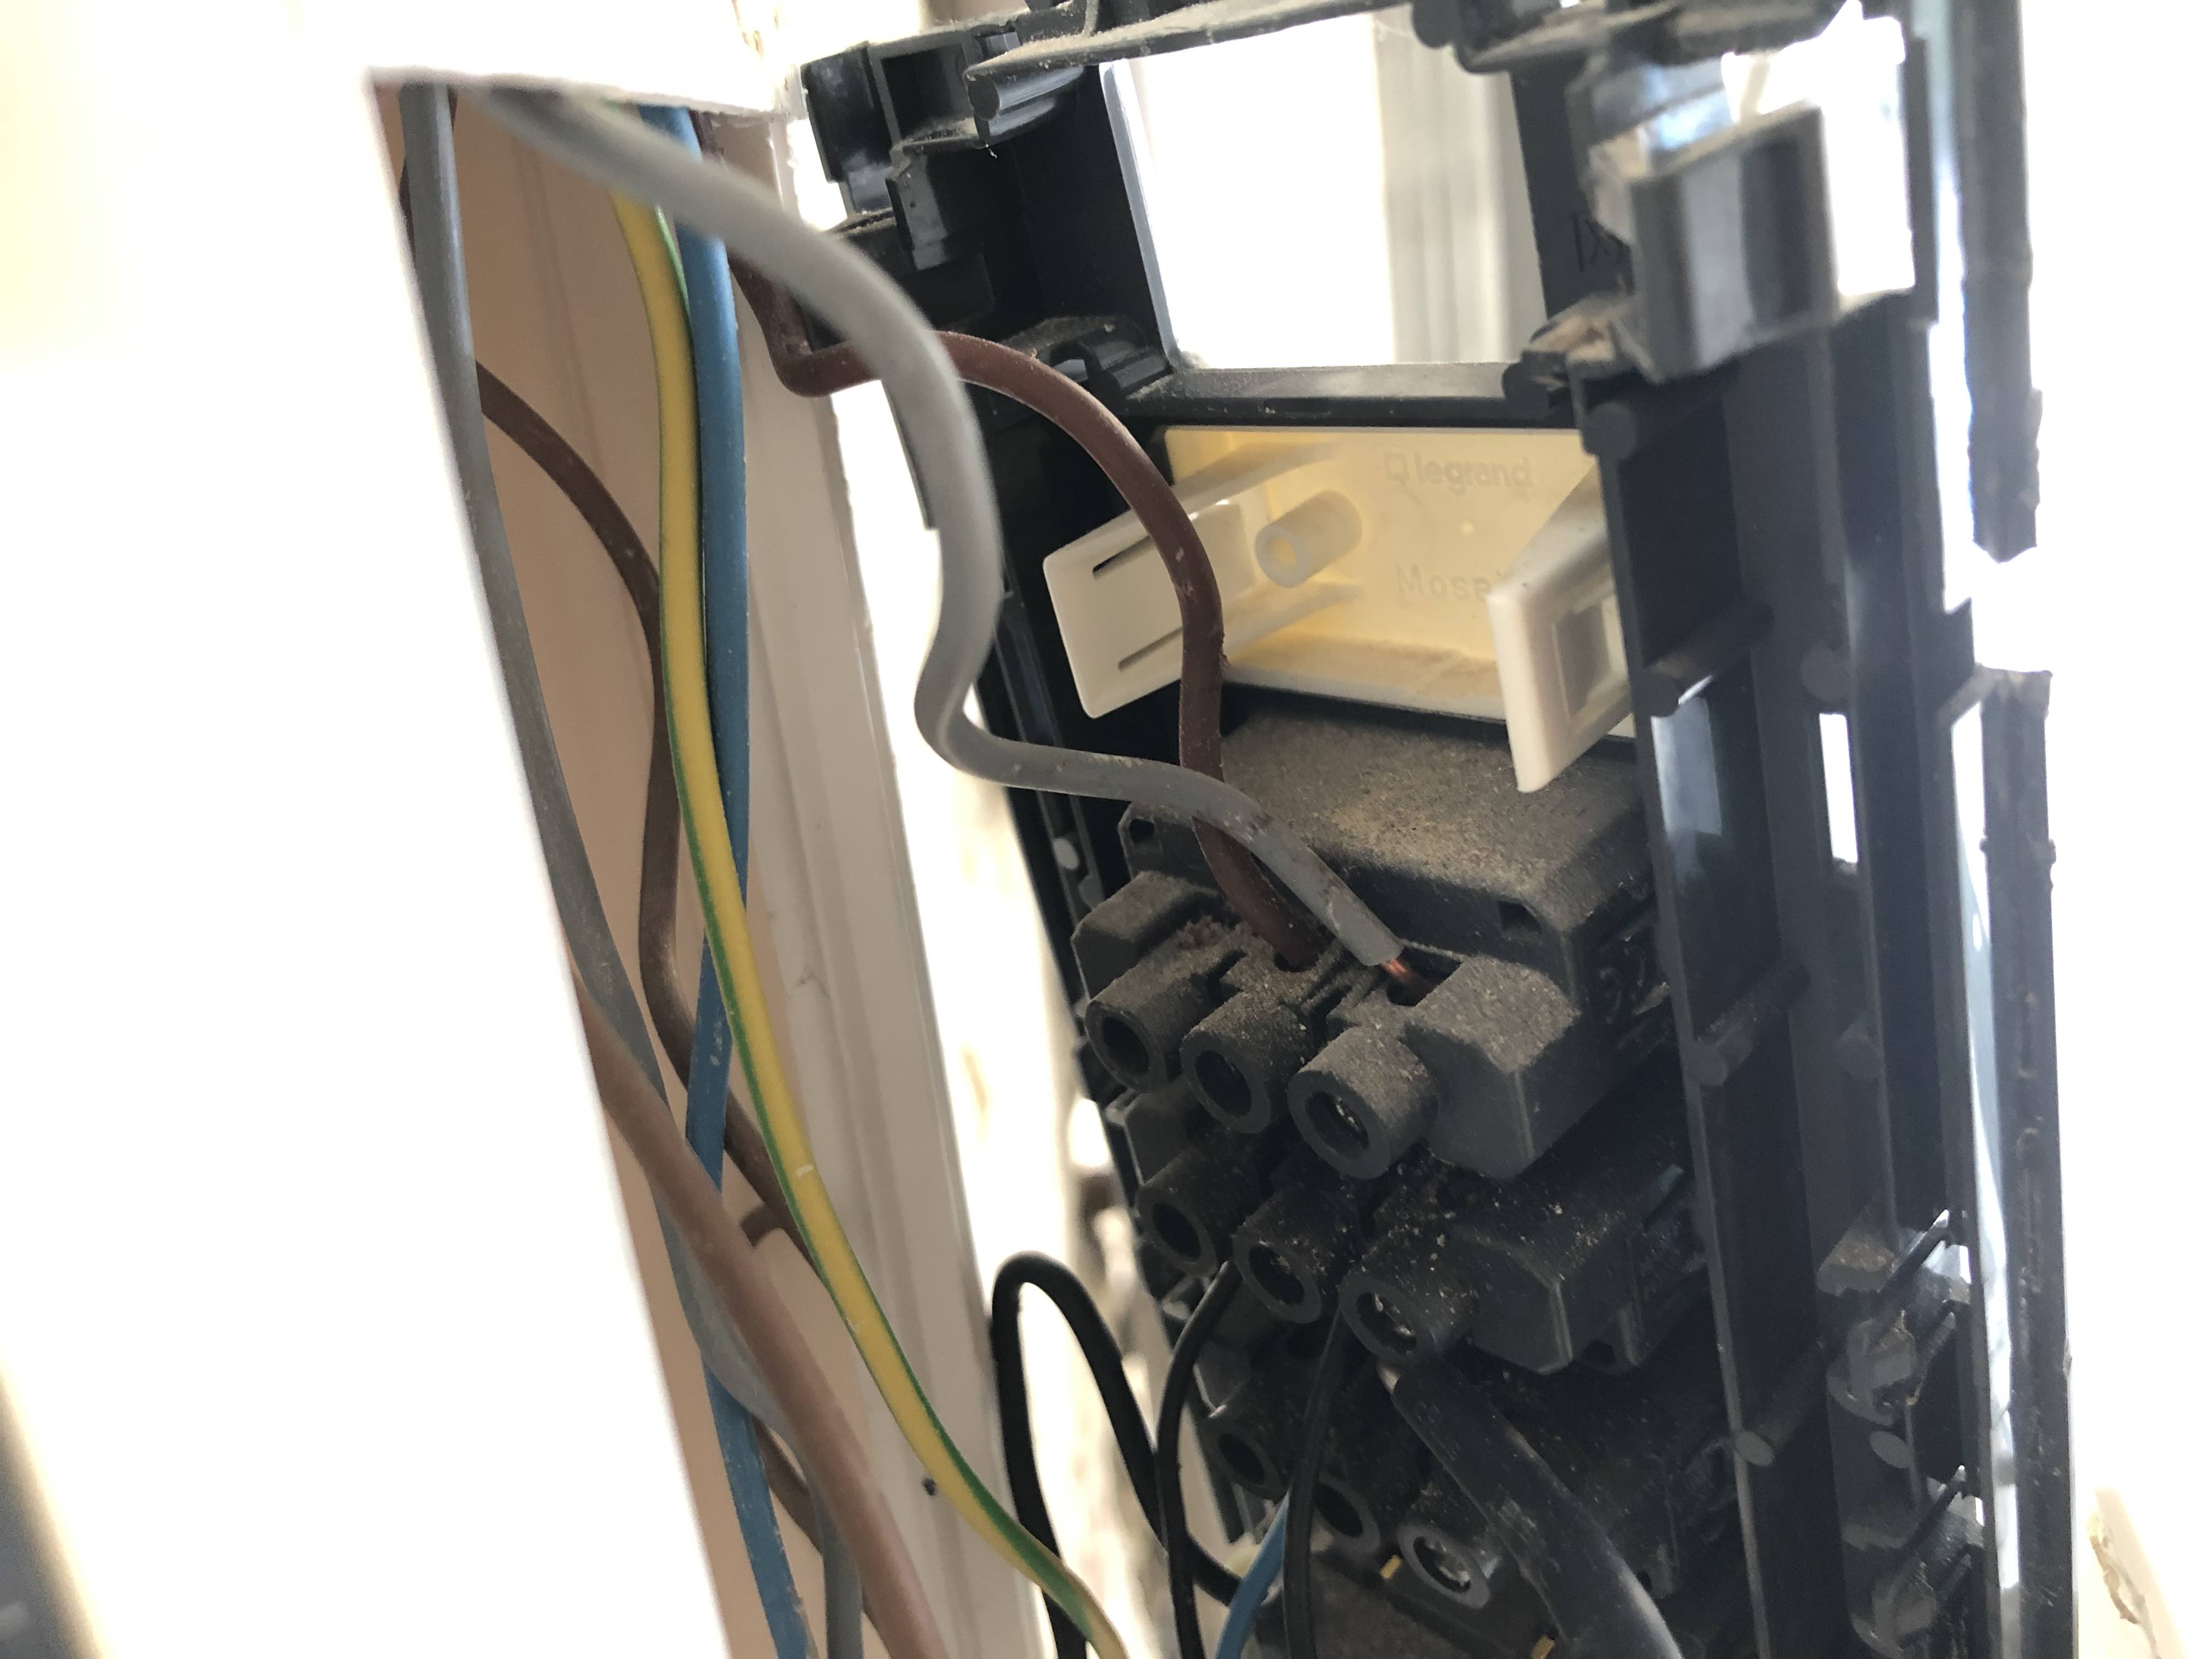
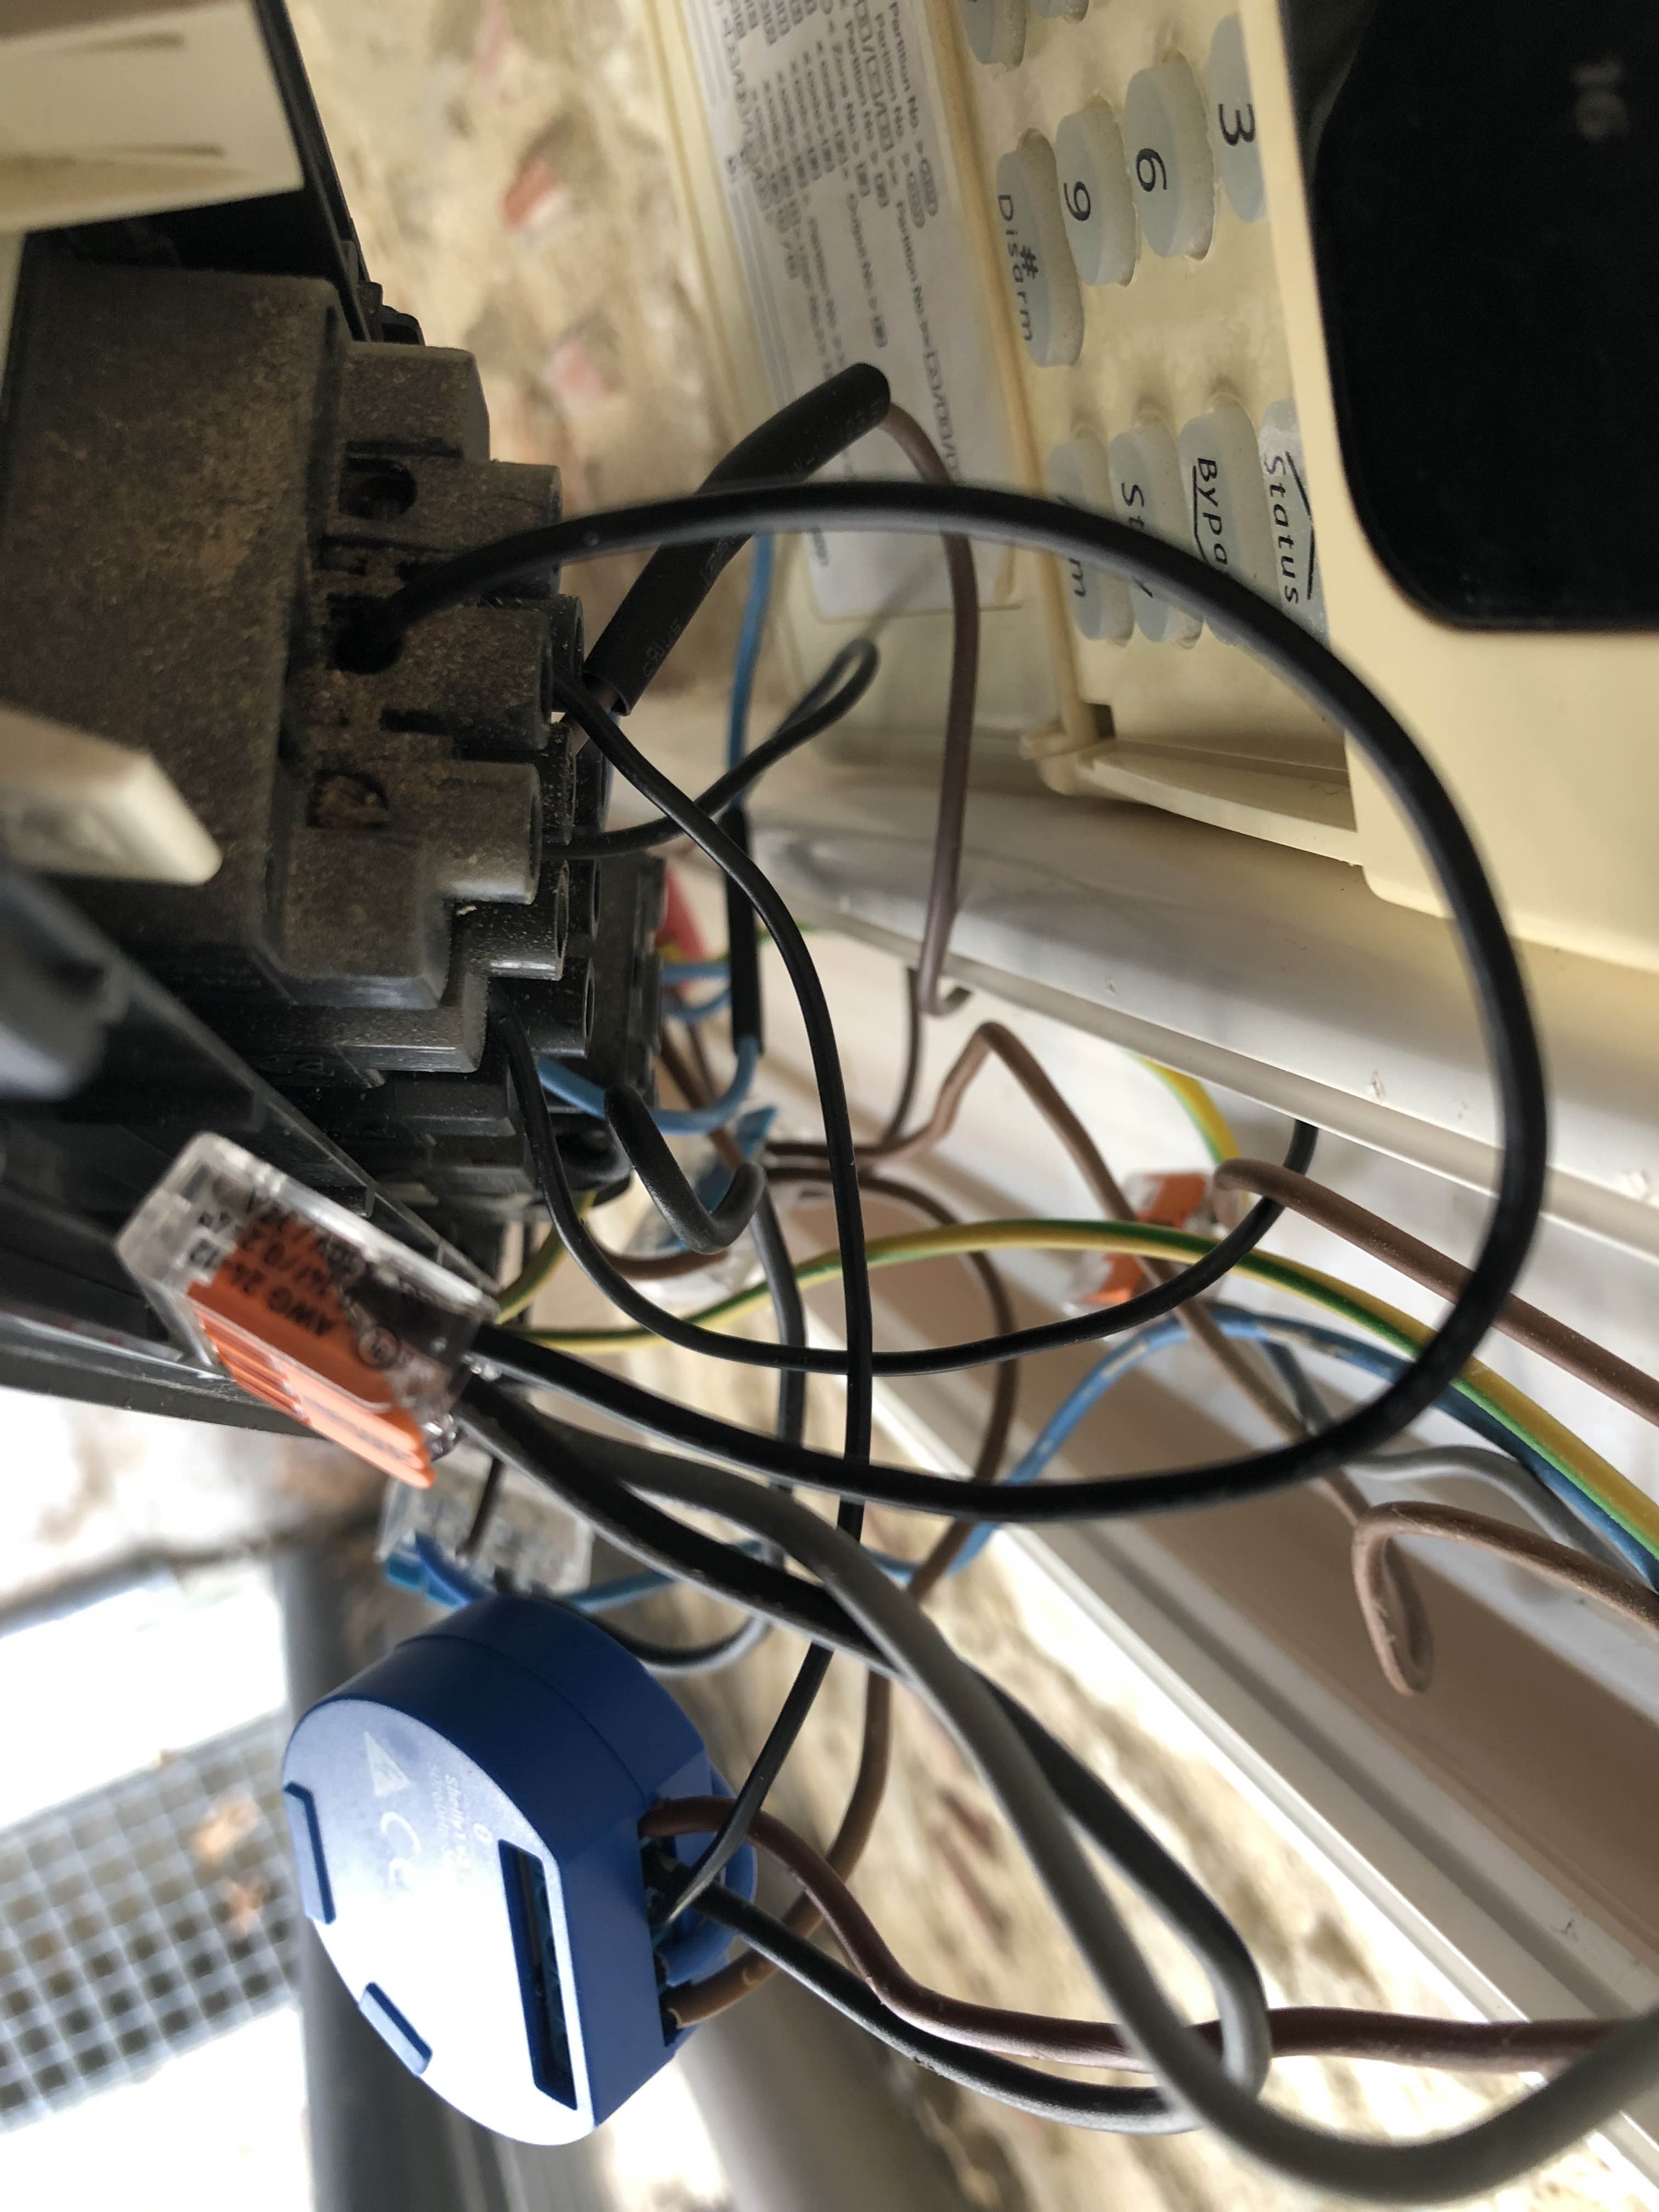
As you can see in the pictures below, connect:
- Leave the Output (O) connected, from the previous step.
- Connect the input cable coming from the garage door controller (I) with:
- the Input cable going into the wall switch / push button
- the Shelly1 Input (I)
- Connect the return cable from the wall switch into the Shelly1 Switch (SW) position.
- All Shelly1 connection slots should now be filled, as per the photos below.
- Your push button should now flip the state of the Shelly1. Please remember to configure it as an edge switch so that every hit will change the state. (If you don’t have a push button, but rather a different kind of switch, you will probably need to pick a different Button Type in the Shelly. )
Success !!
Here’s a video with the end solution!
Home Assistant Configuration
You can find all my Home Assistant configuration here.