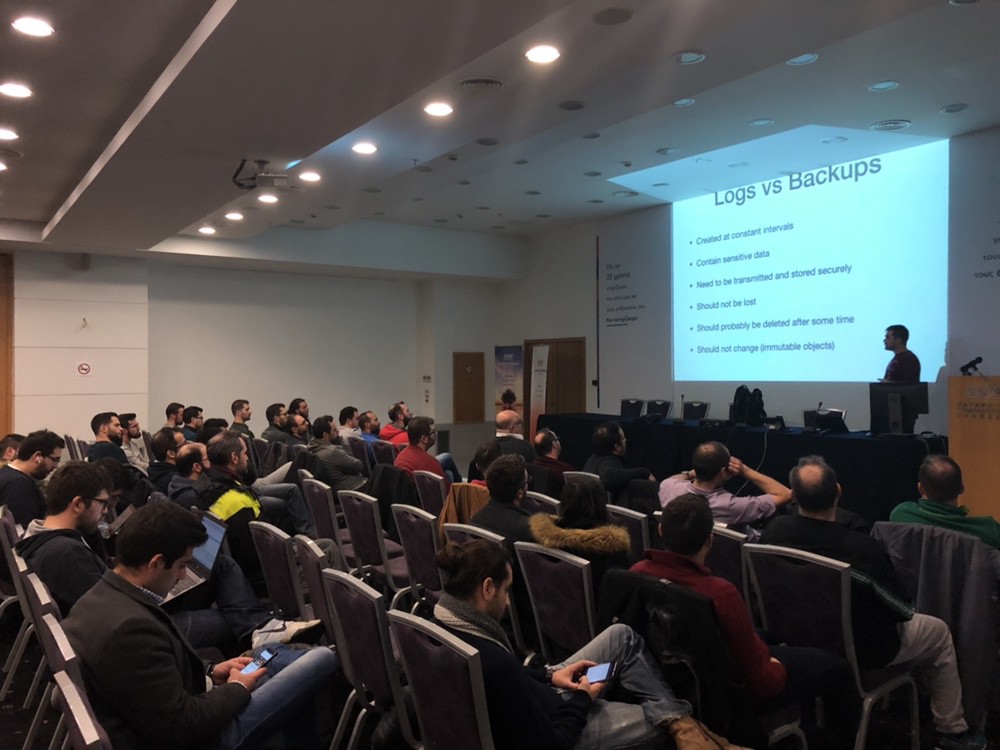
One of the things I’m involved in is DevStaff: an open community for developers and anyone interested in technology, based in Heraklion, Crete.
At DevStaff, we’ve been hosting a meetup every month for the past 3,5 years and even though we’ve had some events with remote speakers we only recently decided to start live streaming our events. (Btw, I was not positively inclined, but that’s probably a topic for another blog post, because… I might have been wrong).

Anyway, back on topic. Since we took the decision, we needed to find a way to stream the events with the minimum friction possible. We’re all volunteers and we don’t want / can’t afford to spend a lot of time looking for the ideal solution. We also don’t want to invest in buying equipment / expensive software right now. (but we might if interest picks up on the live streams…)
Requirements
So, in a nutshell, what we wanted to do is be able to have:
Local Audience + Remote Audience + Local Speakers + Remote speakers being able to see each other.
Put another way, this means that our requirements were that any given person (remote or local) should be able to see:
- the speaker
- the audience
- the slides
and hear:
- local speaker
- local audience
- remote participants (whether speaker / attendant)
These were NOT in our requirements:
- recording the event so that people can watch it in their own time.
- remote attendees to appear on screen as they’re asking a question (so the audience can see them)
Solution
Here is our current solution:
- Start Bluejeans (doesn’t have to be Bluejeans, BUT the video conferencing solution you choose MUST support both sharing your video and your screen at the same time).
- Point laptop camera to speaker + slides that show up on the projector screen behind them. You have to align the laptop camera in a way that both show up on screen. It is ideal
- O̵̵̵p̵̵̵e̵̵̵n̵̵̵ ̵̵̵P̵̵̵h̵̵̵o̵̵̵t̵̵̵o̵̵̵ ̵̵̵B̵̵̵o̵̵̵o̵̵̵t̵̵̵h̵̵̵ ̵̵̵a̵̵̵n̵̵̵d̵̵̵ ̵̵̵s̵̵̵h̵̵̵a̵̵̵r̵̵̵e̵̵̵ ̵̵̵s̵̵̵c̵̵̵r̵̵̵e̵̵̵e̵̵̵n̵̵̵ ̵(̵d̵o̵n̵’̵t̵ ̵d̵o̵ ̵t̵h̵i̵s̵ ̵-̵ ̵t̵h̵e̵ ̵s̵l̵i̵d̵e̵s̵ ̵t̵e̵x̵t̵ ̵w̵i̵l̵l̵ ̵b̵e̵ ̵m̵i̵r̵r̵o̵r̵e̵d̵,̵ ̵m̵e̵a̵n̵i̵n̵g̵ ̵r̵e̵m̵o̵t̵e̵ ̵a̵t̵t̵e̵n̵d̵e̵e̵s̵ ̵w̵o̵n̵’̵t̵ ̵b̵e̵ ̵a̵b̵l̵e̵ ̵t̵o̵ ̵s̵e̵e̵ ̵t̵h̵e̵m̵ ̵p̵r̵o̵p̵e̵r̵l̵y̵)̵
- Instead, do this:
- Open Quicktime Player -> New Movie Recording.
- Select the external camera as the video input source for Quicktime player.
- Point the external camera to the audience. This way, a video stream of the audience will appear on your screen (and, hint hint, you can share your screen! ;) )
- Do NOT actually start recording (watch out for this!), cause you might run out of disk space!
- Maximise your Quicktime player window and share your screen on Bluejeans.
For bonus points:
- Get speakers to connect to conference call on bluejeans and share their screen as they’re presenting. This way it is guaranteed that folks attending remotely will be able to see the slides properly. (then your laptop camera only needs to show the speaker).
Hope this helps someone !